More Fun with Enclosures

Two days before the tornado in March, I wrote a post about the enclosures I planned to market as part of my PLC training kit.
With all of the turmoil and working out of my house for a few months, things got put on hold. Now that I am in my new place, I have finally finished with all the models and the assembly manual.
I needed some for my own use, so I built the ones in the picture yesterday. A lot of my trainers were pretty beat up after the storm, so I decided to rebuild them into these new models.
Free Standing Model
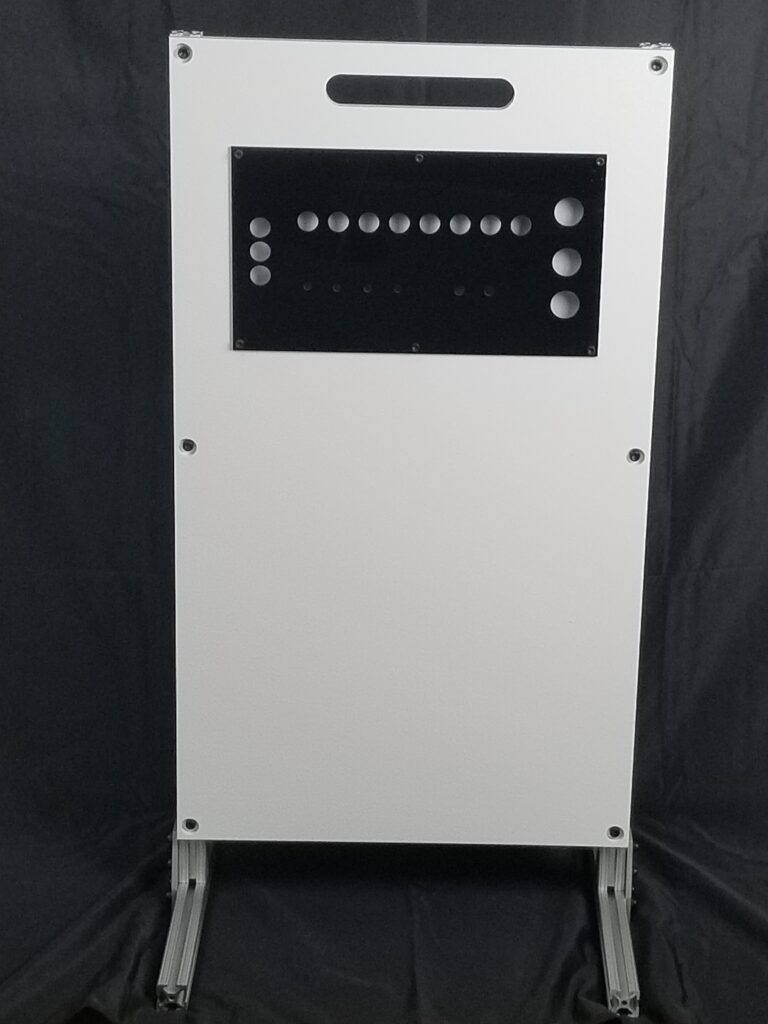
Shawn Tierney from The Automation Blog had asked me to design the model above, so I built a couple for my own use. The device plates from the other models fit this one too, either an HMI or buttons can be used with all of these.
I mounted my Siemens S7-315 on it to use in the webinars I do on Fridays. The picture at the top of this post shows it, I haven’t actually wired the buttons in yet. I plan to mount my Allen-Bradley Compactlogix that I used for the Mini-Factory on it, I hope it still works…
Standard and Micro Models
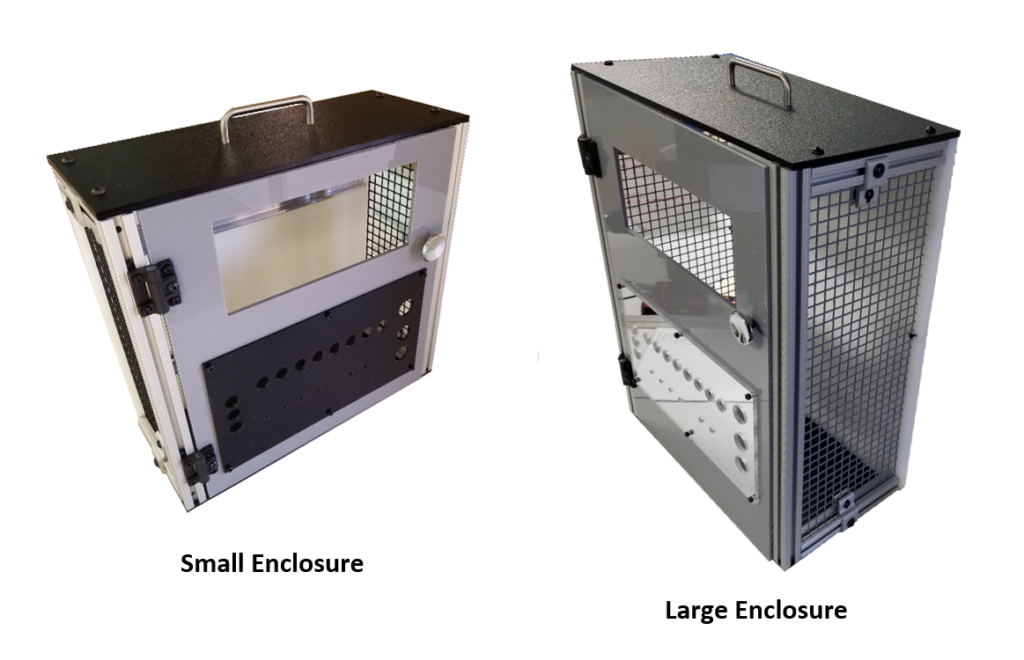
These are pictures of the original models I build earlier this year. As I mentioned, the tornado damaged all of my old plastic boxes, but these came through well. The larger one with the mirrored device plate I use for my Machine Vision lab.
These pictures show the different device plates that can be used with any of these trainers. The plates and the doors can be made in pretty much any color. There is also a blank plate with no HMI hole or buttons. It still has holes for the light stack indicators, Power, EStop and buzzer. These plates will be used for the point I/O enclosures I plan to use for the Fischertechnik models.
I told the story of how these enclosure kits evolved last year, basically the plastic enclosures I was using before were fragile and didn’t ship well. These are much tougher and ship flat. The mesh on the sides is also very handy as wires and cables can be routed through the holes. A metal enclosure costs less, but not by the time you have punched all the holes in it and repainted it.
Assembly Instructions
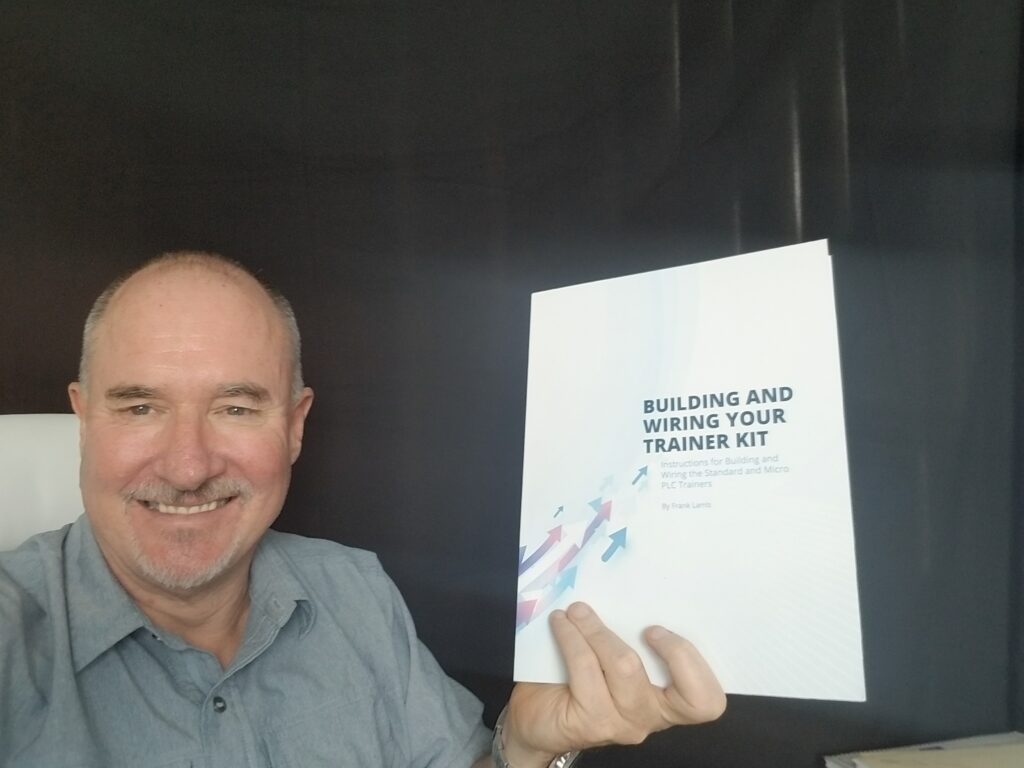
I also finished the booklet that combines the instructions for building the enclosure with those for wiring the trainer. I had put out a booklet called “Wiring Your PLC Trainer” last year that covered the wiring, and had thought about making a separate book for building the enclosure. It seemed to make more sense to combine them.
In any case, the design is done, the book is done, and I actually have three small and one large enclosure kit in stock if anyone wants to purchase one. If I don’t sell them they will still be useful since I have lots of equipment laying around.
I plan to formally start selling these kits on my website within the next couple of months, but I am in the middle of several other projects right now, so it isn’t a priority.

Electrical Engineer and business owner from the Nashville, Tennessee area. I also play music, Chess and Go.