My Little Factory – Fabricate
A couple of weeks ago I started a series called “My Little Factory”, describing a system I am building for training purposes. I plan on updating the progress on this project monthly, but today’s topic is also related.
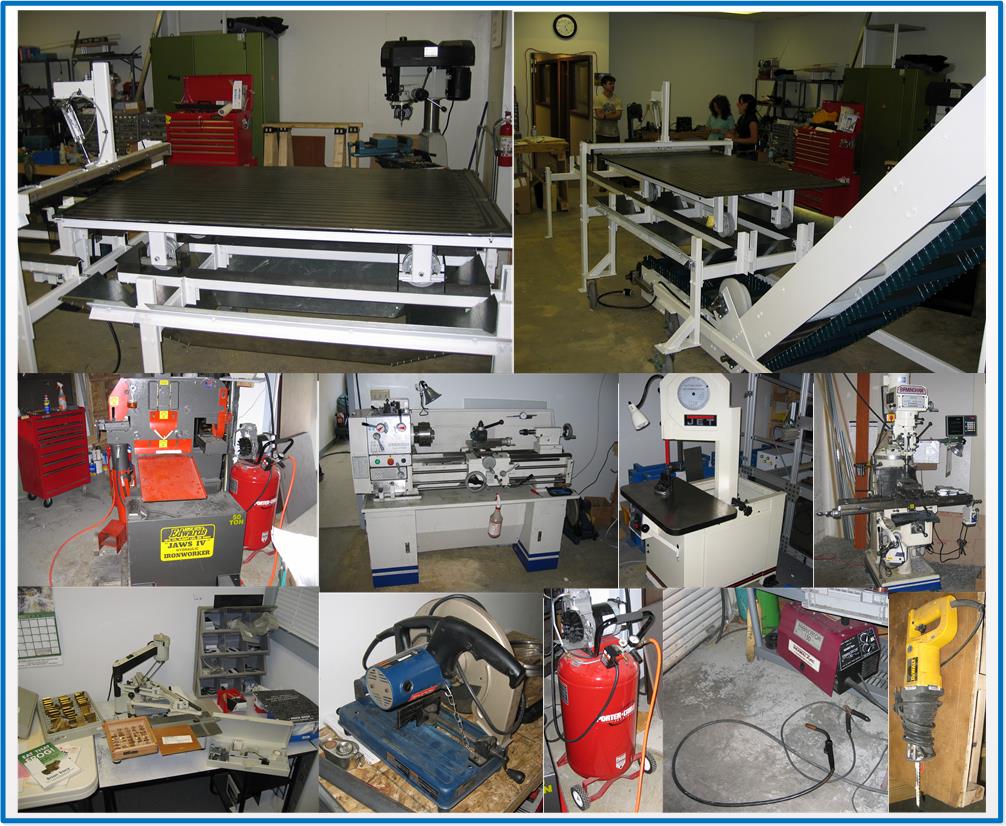
As those who follow this blog know, I have been involved in custom machine building for over twenty years. Even though I am nominally a “controls guy”, I have had to learn how to make mechanical things work and sometimes fabricate different items. From about 2002-2006 I did a lot of mechanical design for my own company, primarily using AutoCAD and drawing in 2D. Below is a collage of some of the tools in my old shop in Knoxville.
Now if I was the guy who had to make the thing I designed I wouldn’t have to draw as much detail, but if my machinist or an outside machine shop was making parts, everything had to be planned out very carefully. Dimensioning and spelling things out in great detail was very important.
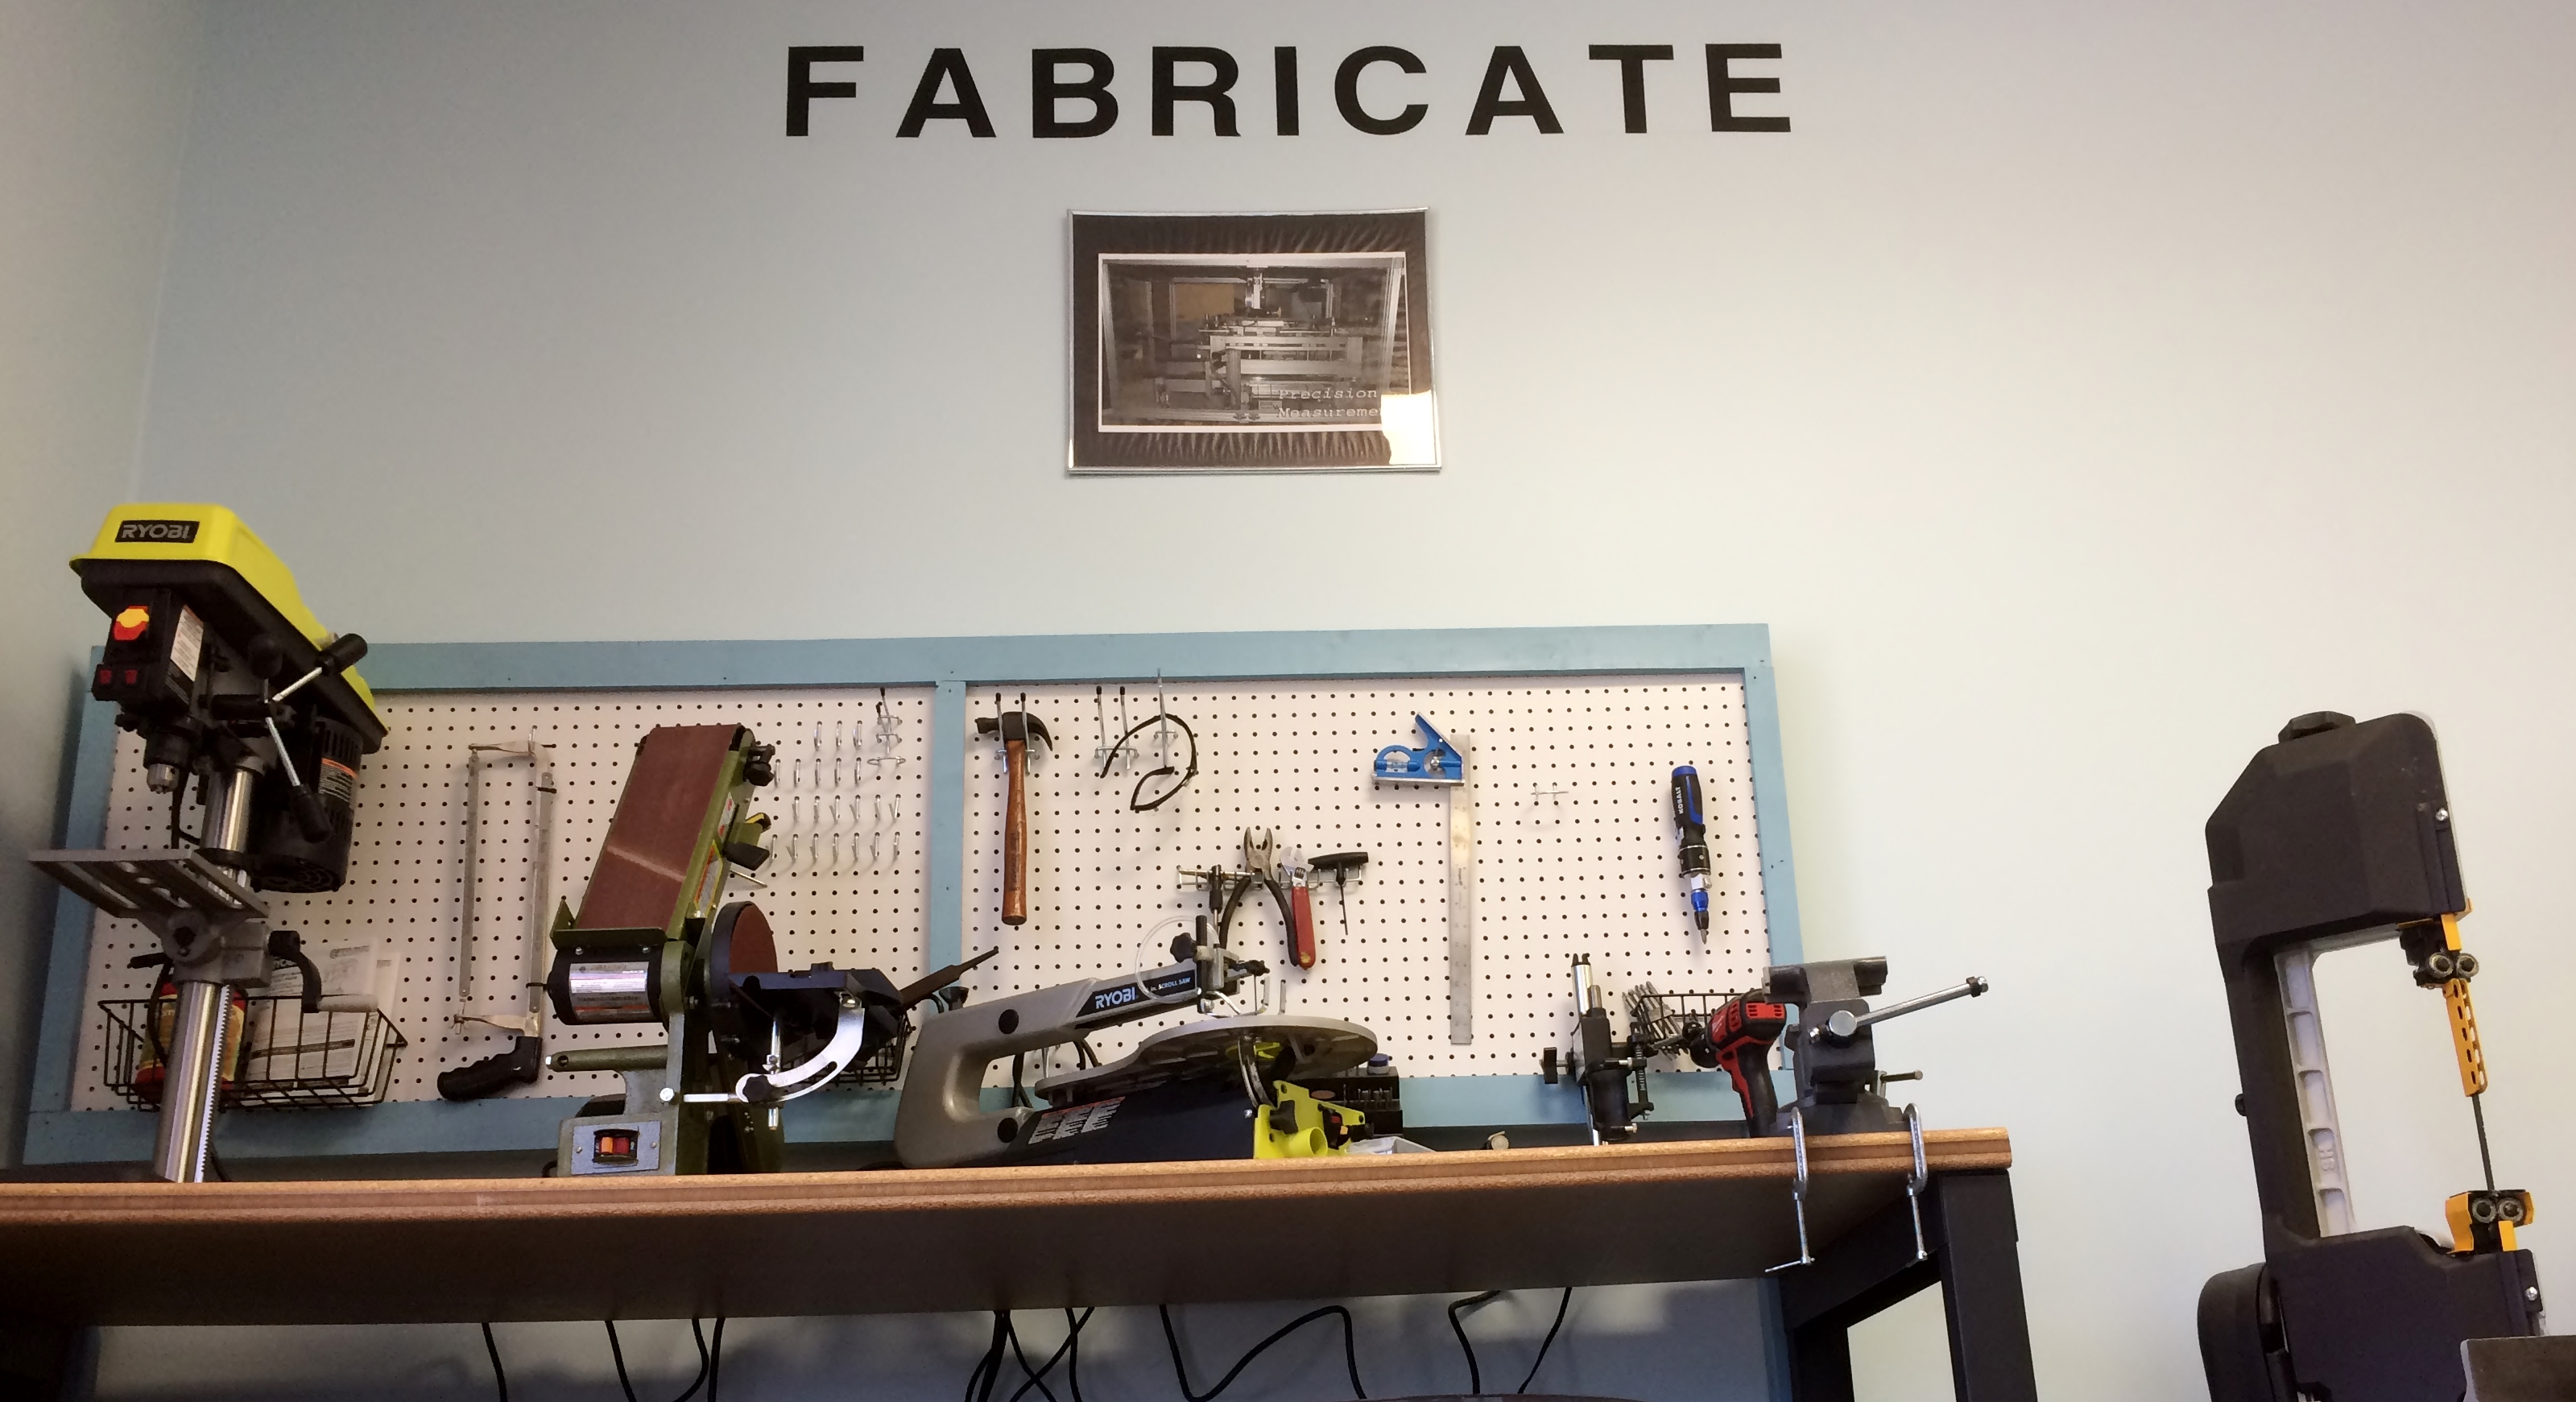
The picture at the top of this post is most of what I have to work with now. My facility is primarily for training, and I am the only one here, so I have set up what I need to put together my project. I have to use the space that I have judiciously, and making things is not the main focus of my company.
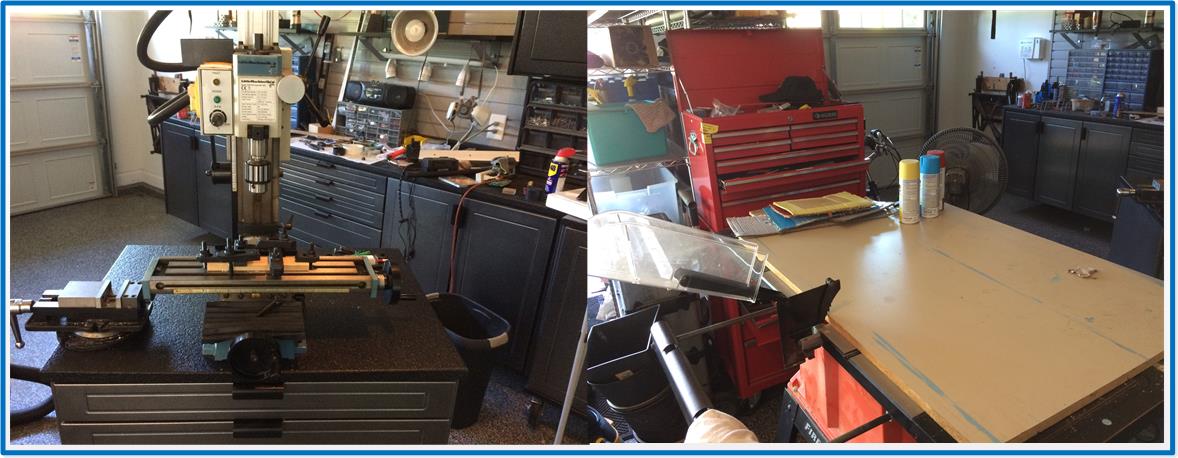
I do have some tools at home also; recognize the toolbox? That is one of the few things I have left over from my old shop. The mill is much smaller than my old one, but it is still useful for making small widgets. I thought about bringing it to my shop, but it is pretty heavy and quite messy. Chips would get everywhere. I only live about 5 minutes from my shop though (~2 miles), so it’s not that big of a deal to go home if I need to make something. By the way, the table in front of the tool chest is actually a table saw with a board on top. It’s another messy thing that takes up a lot of space, so it’s better to leave that one in the garage also.
So what kind of things do I need to fabricate? Well, lately I’ve had to work with a lot of plastic.

If you look at the picture from my first “little factory” post, you’ll notice the plastic tanks on the left side; this is for my process control side of the project. Working with plastic is tricky. You have to go slow and use the right tools, such as plastic bits. It can also be very tricky fixturing small pieces while you are working with them. See the little blocks with the plastic fittings in them? I broke three of them because I didn’t have a good clean way to hold them in the mill. It’s hard to see from the picture, but the setup on the mill in my garage is what I used. I also didn’t have a plastic bit for the hole that I needed to thread, so I used a wood bit. I did finally manage to get them bored and threaded, but it took a lot longer than a pro would have.
The blocks are attached using a plastic cement that is applied with a needle, kind of like a syringe. The only reason the blocks have to be there at all is that the thin tank material wouldn’t hold a thread. The purpose of the boxes is to hold the tank on the three load cells in the picture. The screw holes are where the load cells are attached, and the square/rectangular holes in the boxes are to allow the blocks to extend through the surface. A 1/4″ hose then brings the water outside to the valves and pumps. I figured it would be easier to call the tanks “red tank, blue tank and yellow tank” rather than tank 1, 2 or three.

As you can see I’ve got all of the control panels mounted to the wall. Not everything is wired yet, but the Allen-Bradley and Siemens are both powered up and have the start of a program in them. The Beckhoff is against the back wall, I haven’t done anything with it yet. My wooden drive panel actually turned out ok.
It takes a lot of the same tools to make a little factory as it does to make a big one. Of course I don’t need millwrights to move things and since I am doing all of the work I don’t have to draw things in as much detail.
The next things I have to fabricate are the escapements for the little balls. This involves a whole lot of drilling and tapping aluminum as well as a bit of milling at home. I also have to go to Los Angeles week after next to teach a ControlLogix class, so I may not have them all done in time for my May update on this blog.
So why the word “Fabricate” over the tools? I’ve actually put a bunch of text over different areas of my shop, you’ll get to see more of that in my next post, “Innovate”. Of course the factory area has the word “Automate” over it. I even though about putting the word “Educate” in the training area, but that is probably too much. I even thought of a couple of words I could put over the bathroom, but I think not…

Electrical Engineer and business owner from the Nashville, Tennessee area. I also play music, Chess and Go.