On Site Panelbuilding
Hello from Miami again! I do feel bad for all of you who are stuck in the frozen Northland, my home town near Nashville, Tennessee is supposed to get 8-12 inches of snow in the next couple of days. Its quite nice here, at least when I get outside to enjoy it. Unfortunately I am here for work again, on the same project at the bottling plant that I have talked about before. I work from about 7am to 6pm every day except Sunday, but I even had to go in today for a few hours to take advantage of the downtime and do a full PLC program download. So I really don’t get to enjoy the weather as much as I’d like.
Today’s topic is about part of this project. In December 2014 I got started on an upgrade project for an existing line. While I had known this project was coming up, I didn’t know when or how long it would take.
I mentioned in another post that I was able to do the electrical design for this project in almost exactly one week. When it came time to build the control panel for this job, the best panel builder I could find on short notice (that didn’t already have another job) is my wife, Mieko. She has been building panels since about 1997, started at my old company and then worked for several others since. She has a wealth of experience deciphering drawings and using a lot of different specifications and styles; this was useful since my design was leveraged off of the existing equipment and needed to match it closely.
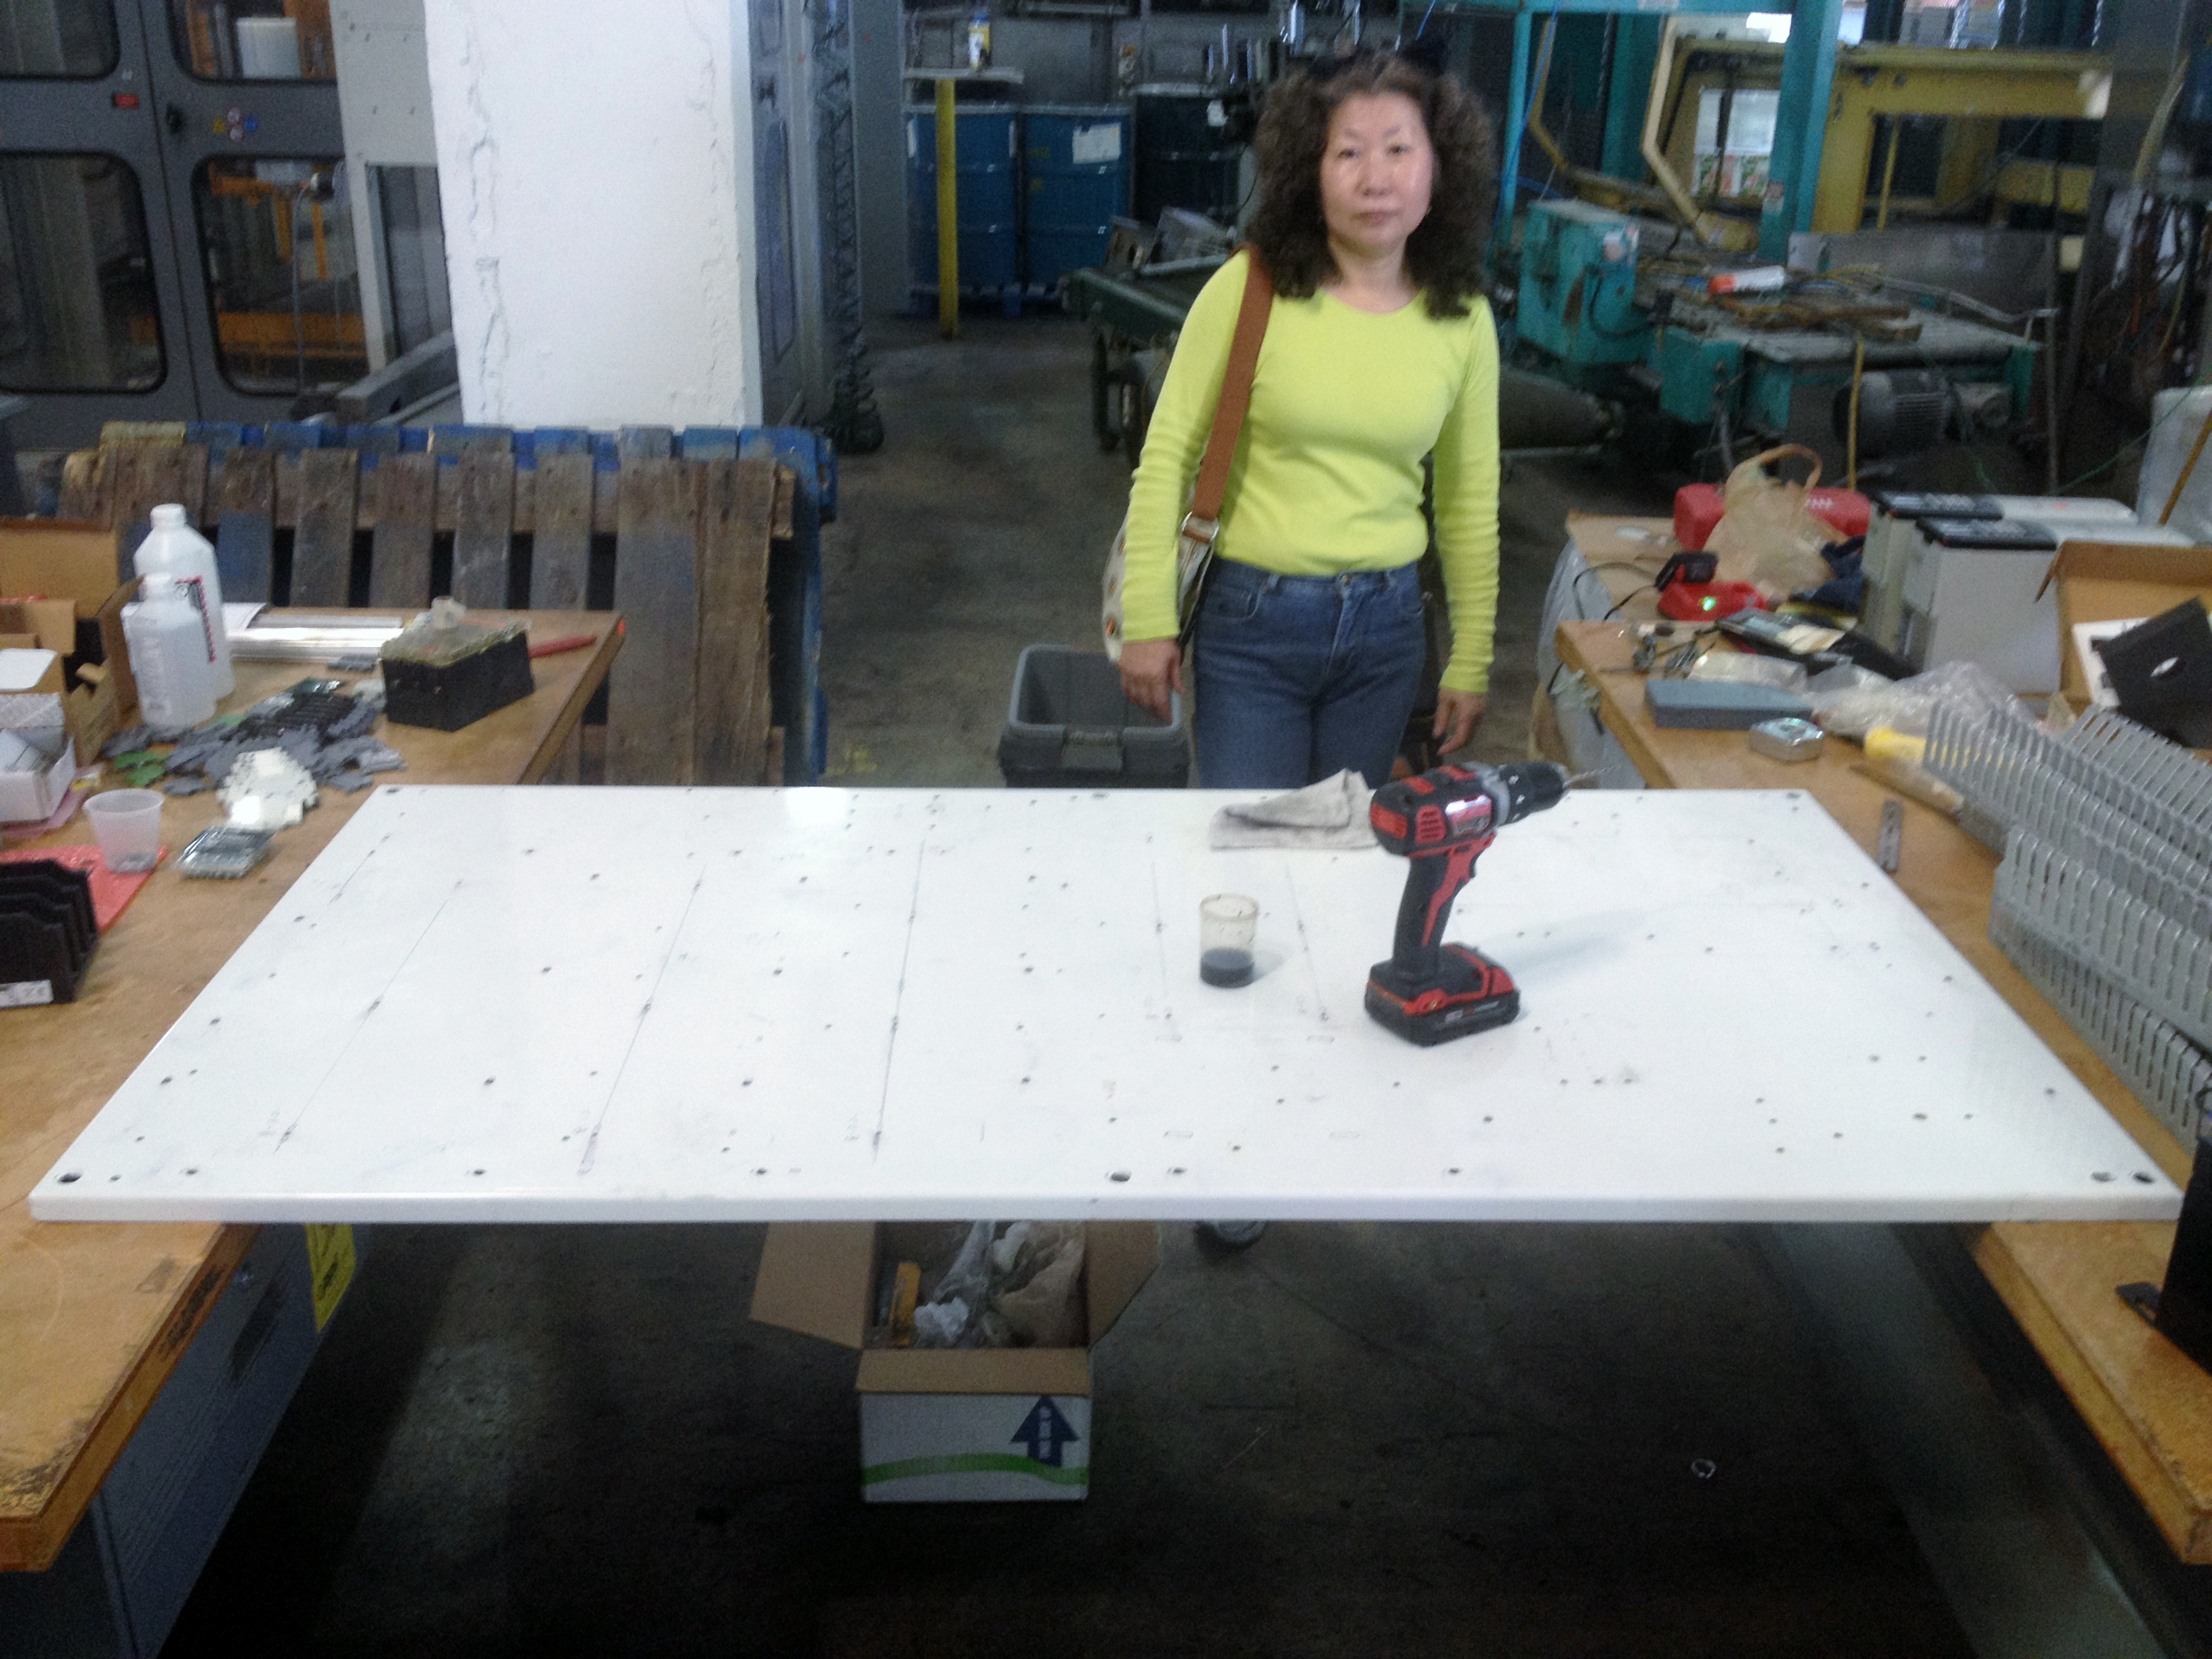
The picture above is from back on January 6, 2015. Since I had to teach a Siemens PLC class in Orlando, we decided to drive to Miami from Nashville, a trip of about 920 miles. This allowed her to bring her own tools, which is very convenient. Things like taps, drills and hand tools are not always available at a customer site, at least not the type you may need.
The picture above was taken after she did the layout of components on the backplane. Below is what it looked like as she was laying it out and marking where holes lined up.
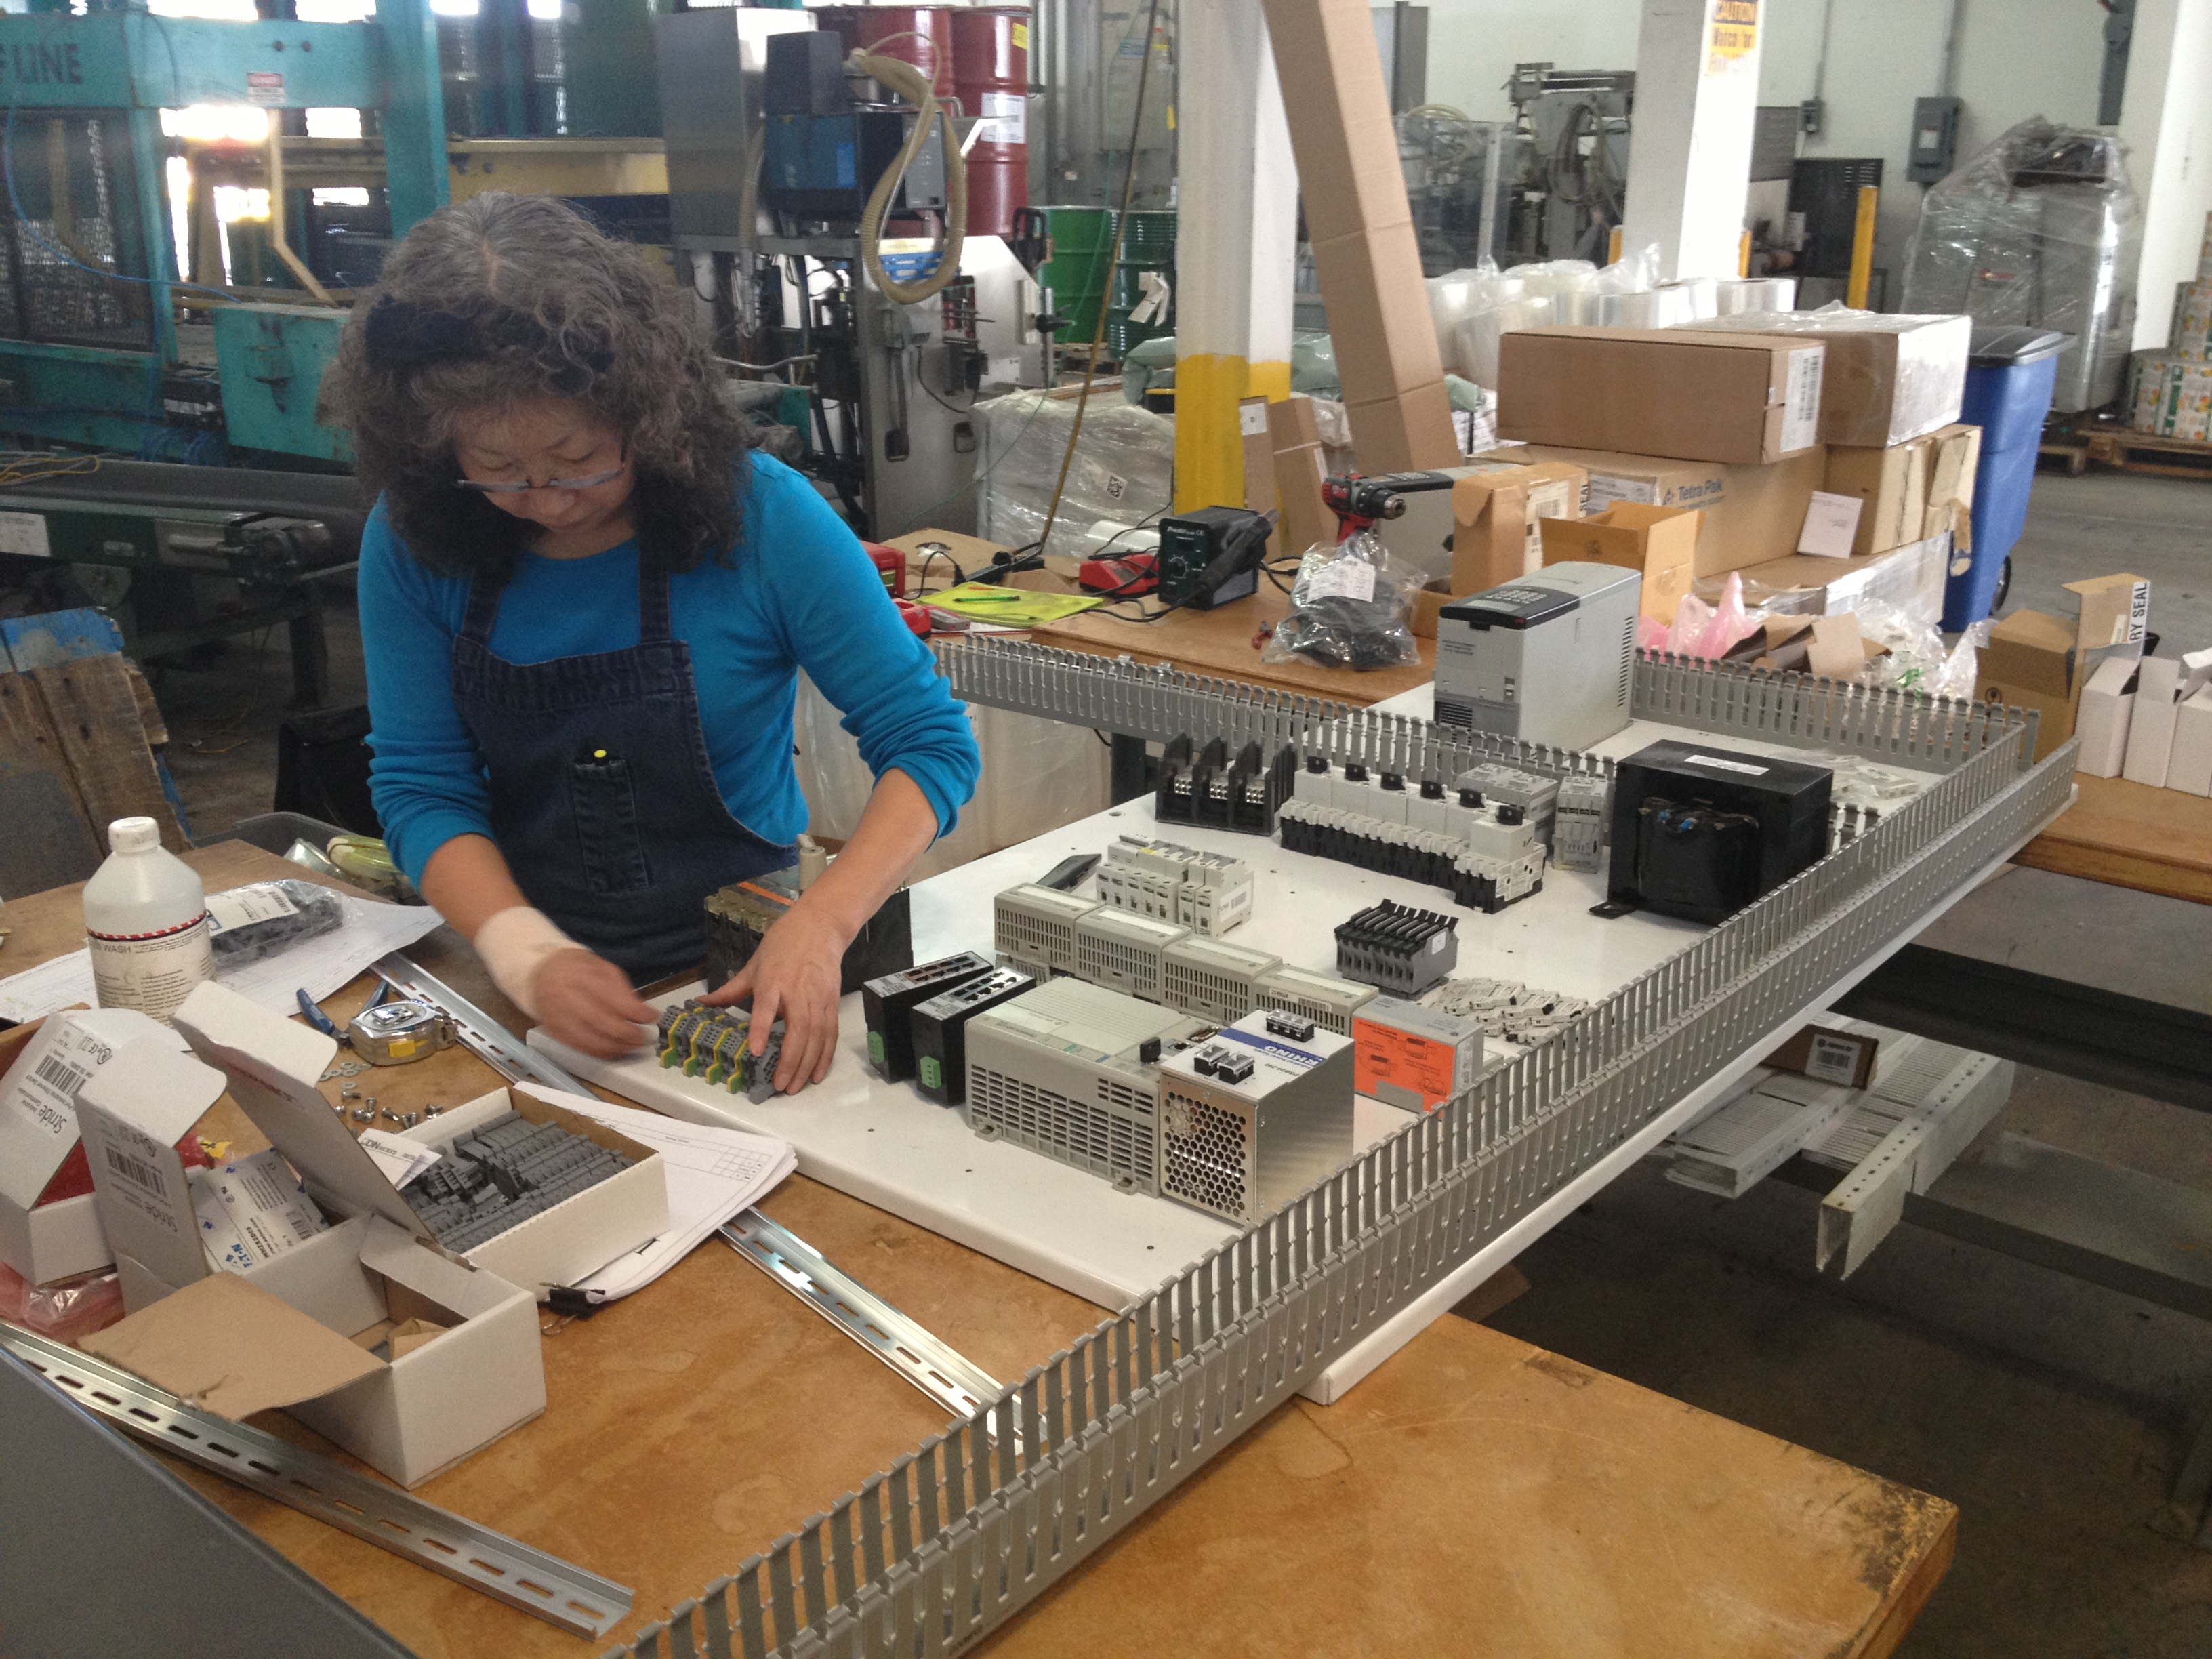
As you can see, things like wireway and DIN rail have to be marked and measured individually as you go. There can also be surprises when things either don’t fit well or wire/voltage interferences are discovered. A good panelbuilder will find and correct these issues as they occur, red lining the drawings so they can be corrected later. On this project, many components including the backplane and transformer were used. This added some time to the process since the backplane had to have items removed and be cleaned before layout.
Other things that complicated the process by doing it onsite rather than at a panel shop is things like printing labels and cutting wireway and DIN rail. The only label maker available was a Brady handheld unit shown just peeking above the drive in the picture below. In a big panel shop, labels can be printed all at once on a printer, but here they had to be done one at a time.
Wireway and DIN rail also had to be cut in the maintenance shop by company employees and all they had was a chop saw with an abrasive blade. Not ideal as the cut ends had to be cleaned up quite a bit.
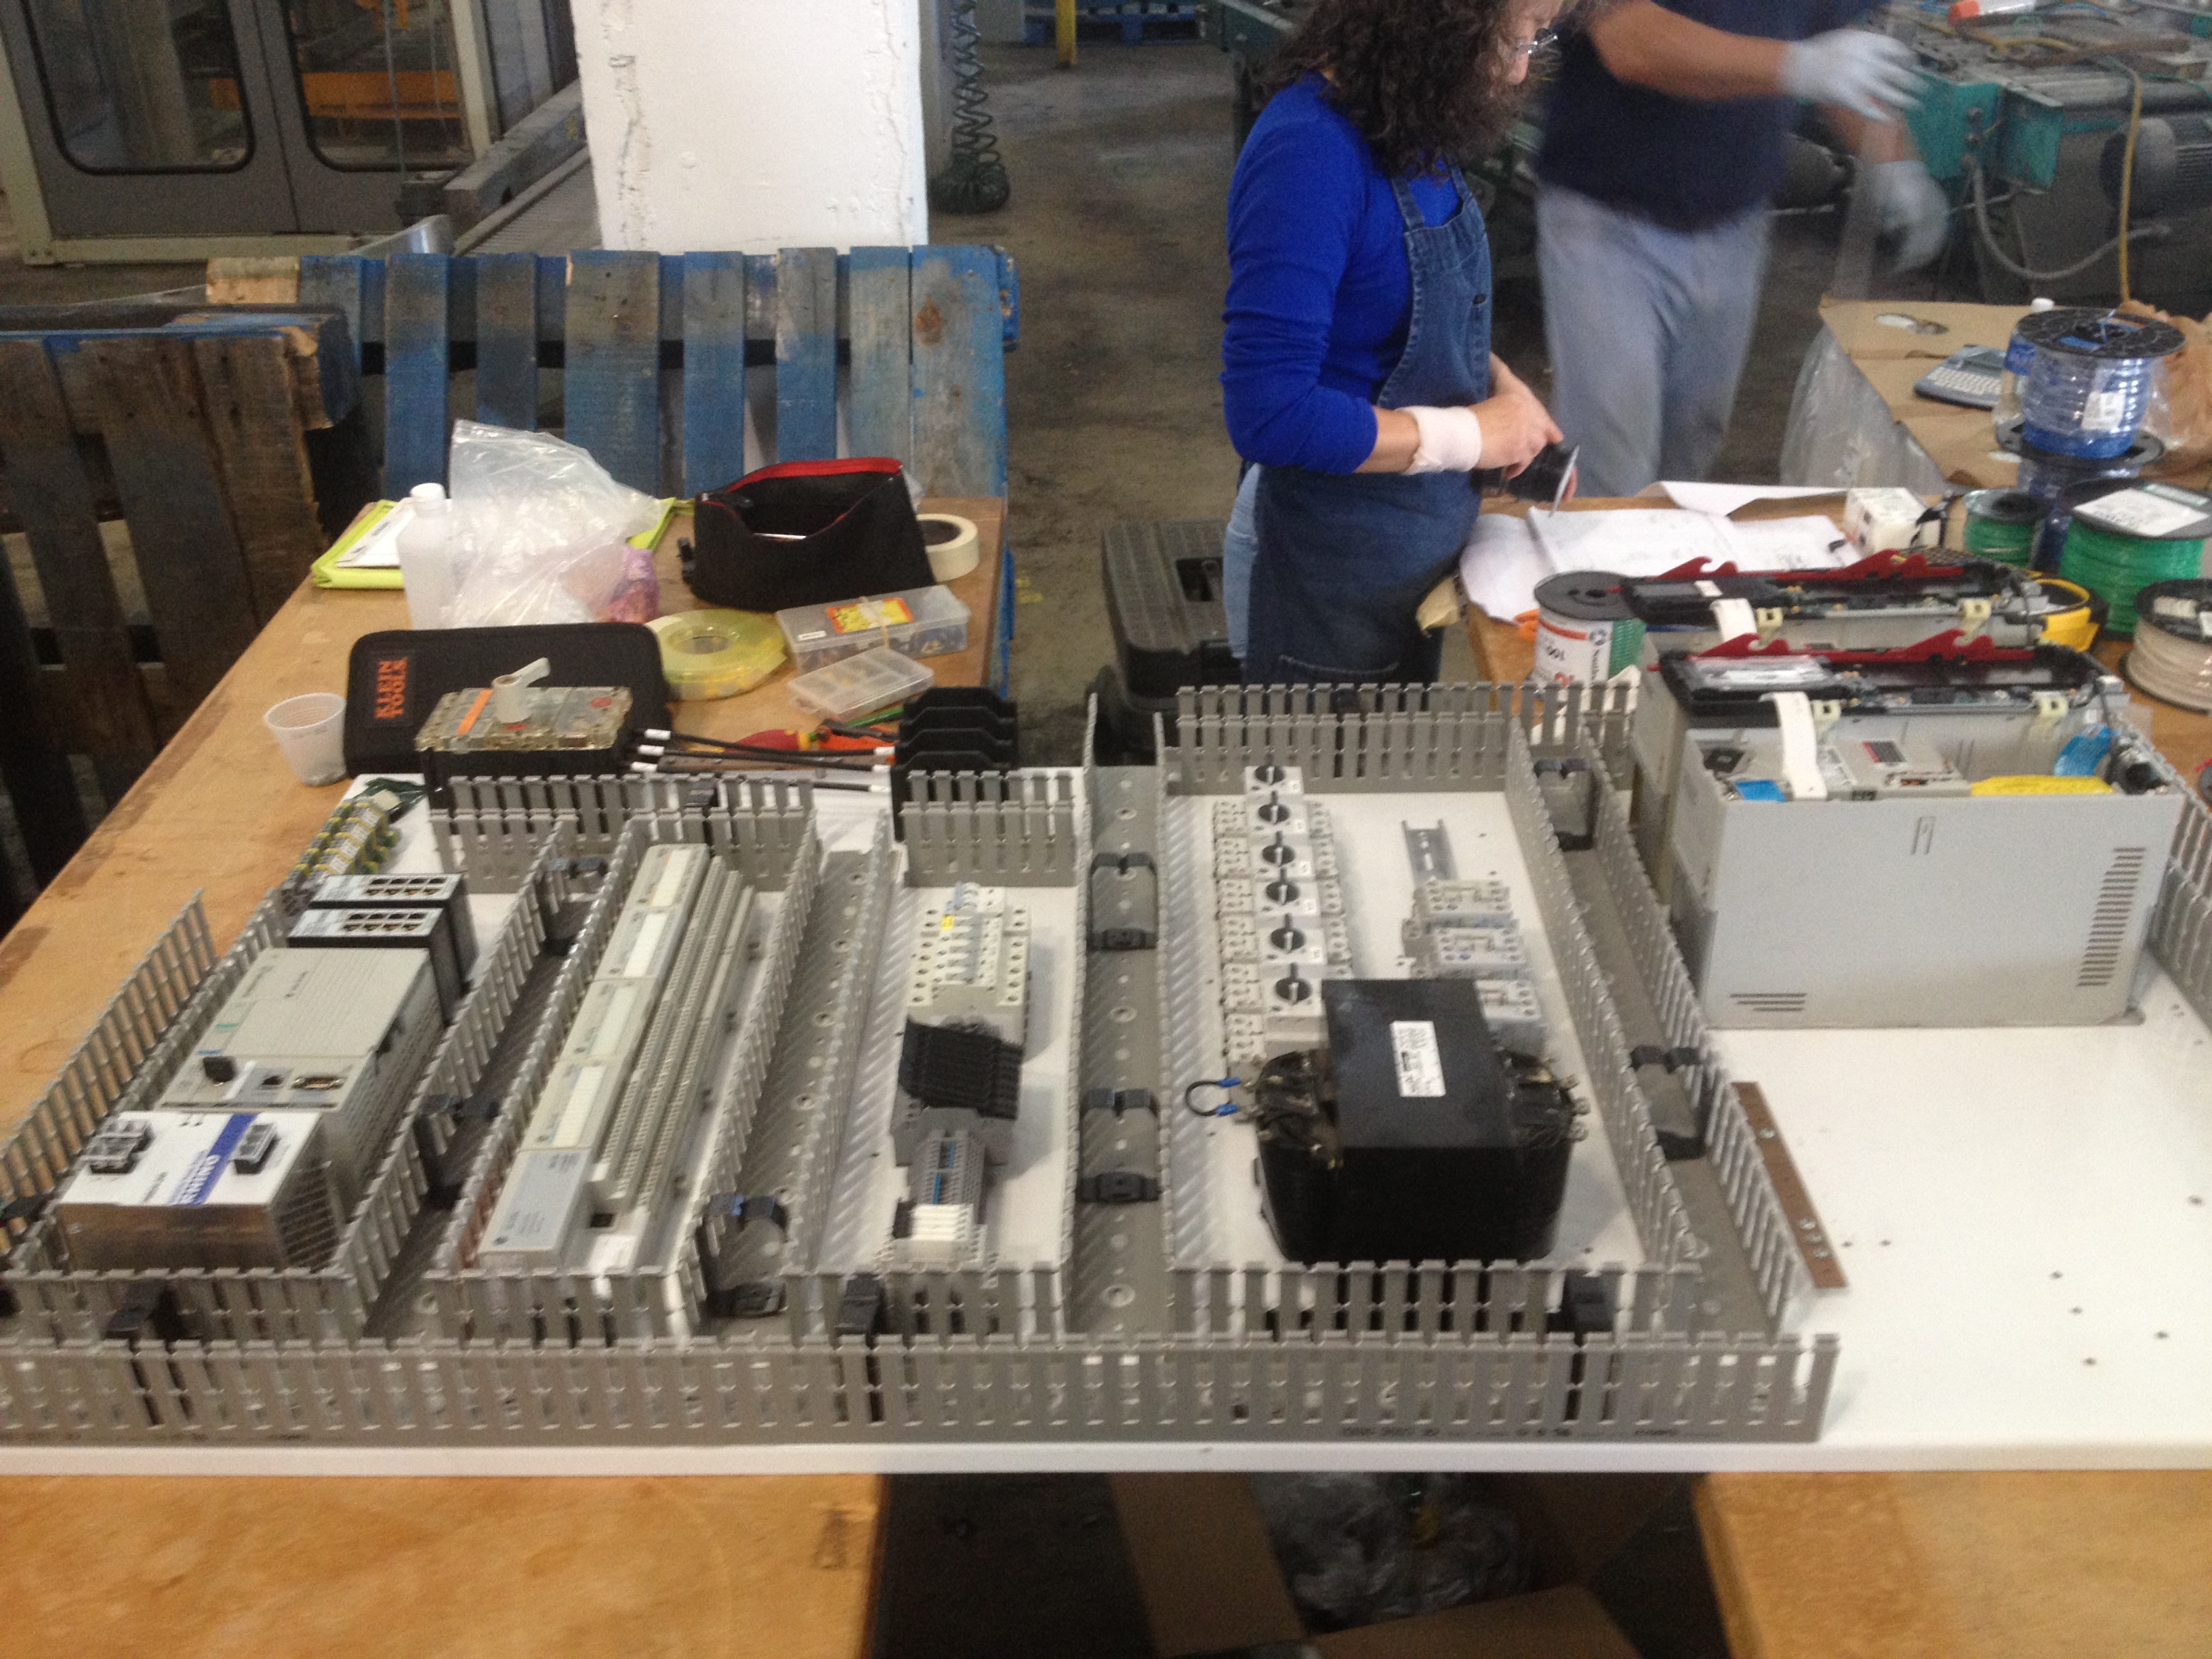
Because I had to be in Orlando to teach my class she only stayed one week in Miami and wasn’t quite finished. While she was working on the panel I was helping with mechanical design and working on the PLC and SCADA/HMI modifications. We returned this past Sunday (driving again) and she was able to finish all of the wiring in 2 days, for a total of 7 days. If this had been done with all new equipment in a professional panel shop it probably only would have taken about four.
Mieko flew home Wednesday morning while I stayed to work on the PLC code and SCADA. I will be here for another week doing software and debug, then returning for a week in March and another in April.

Here’s the finished product with the wireway cover off of it…
And here it is right after she left, all buttoned up and pretty…
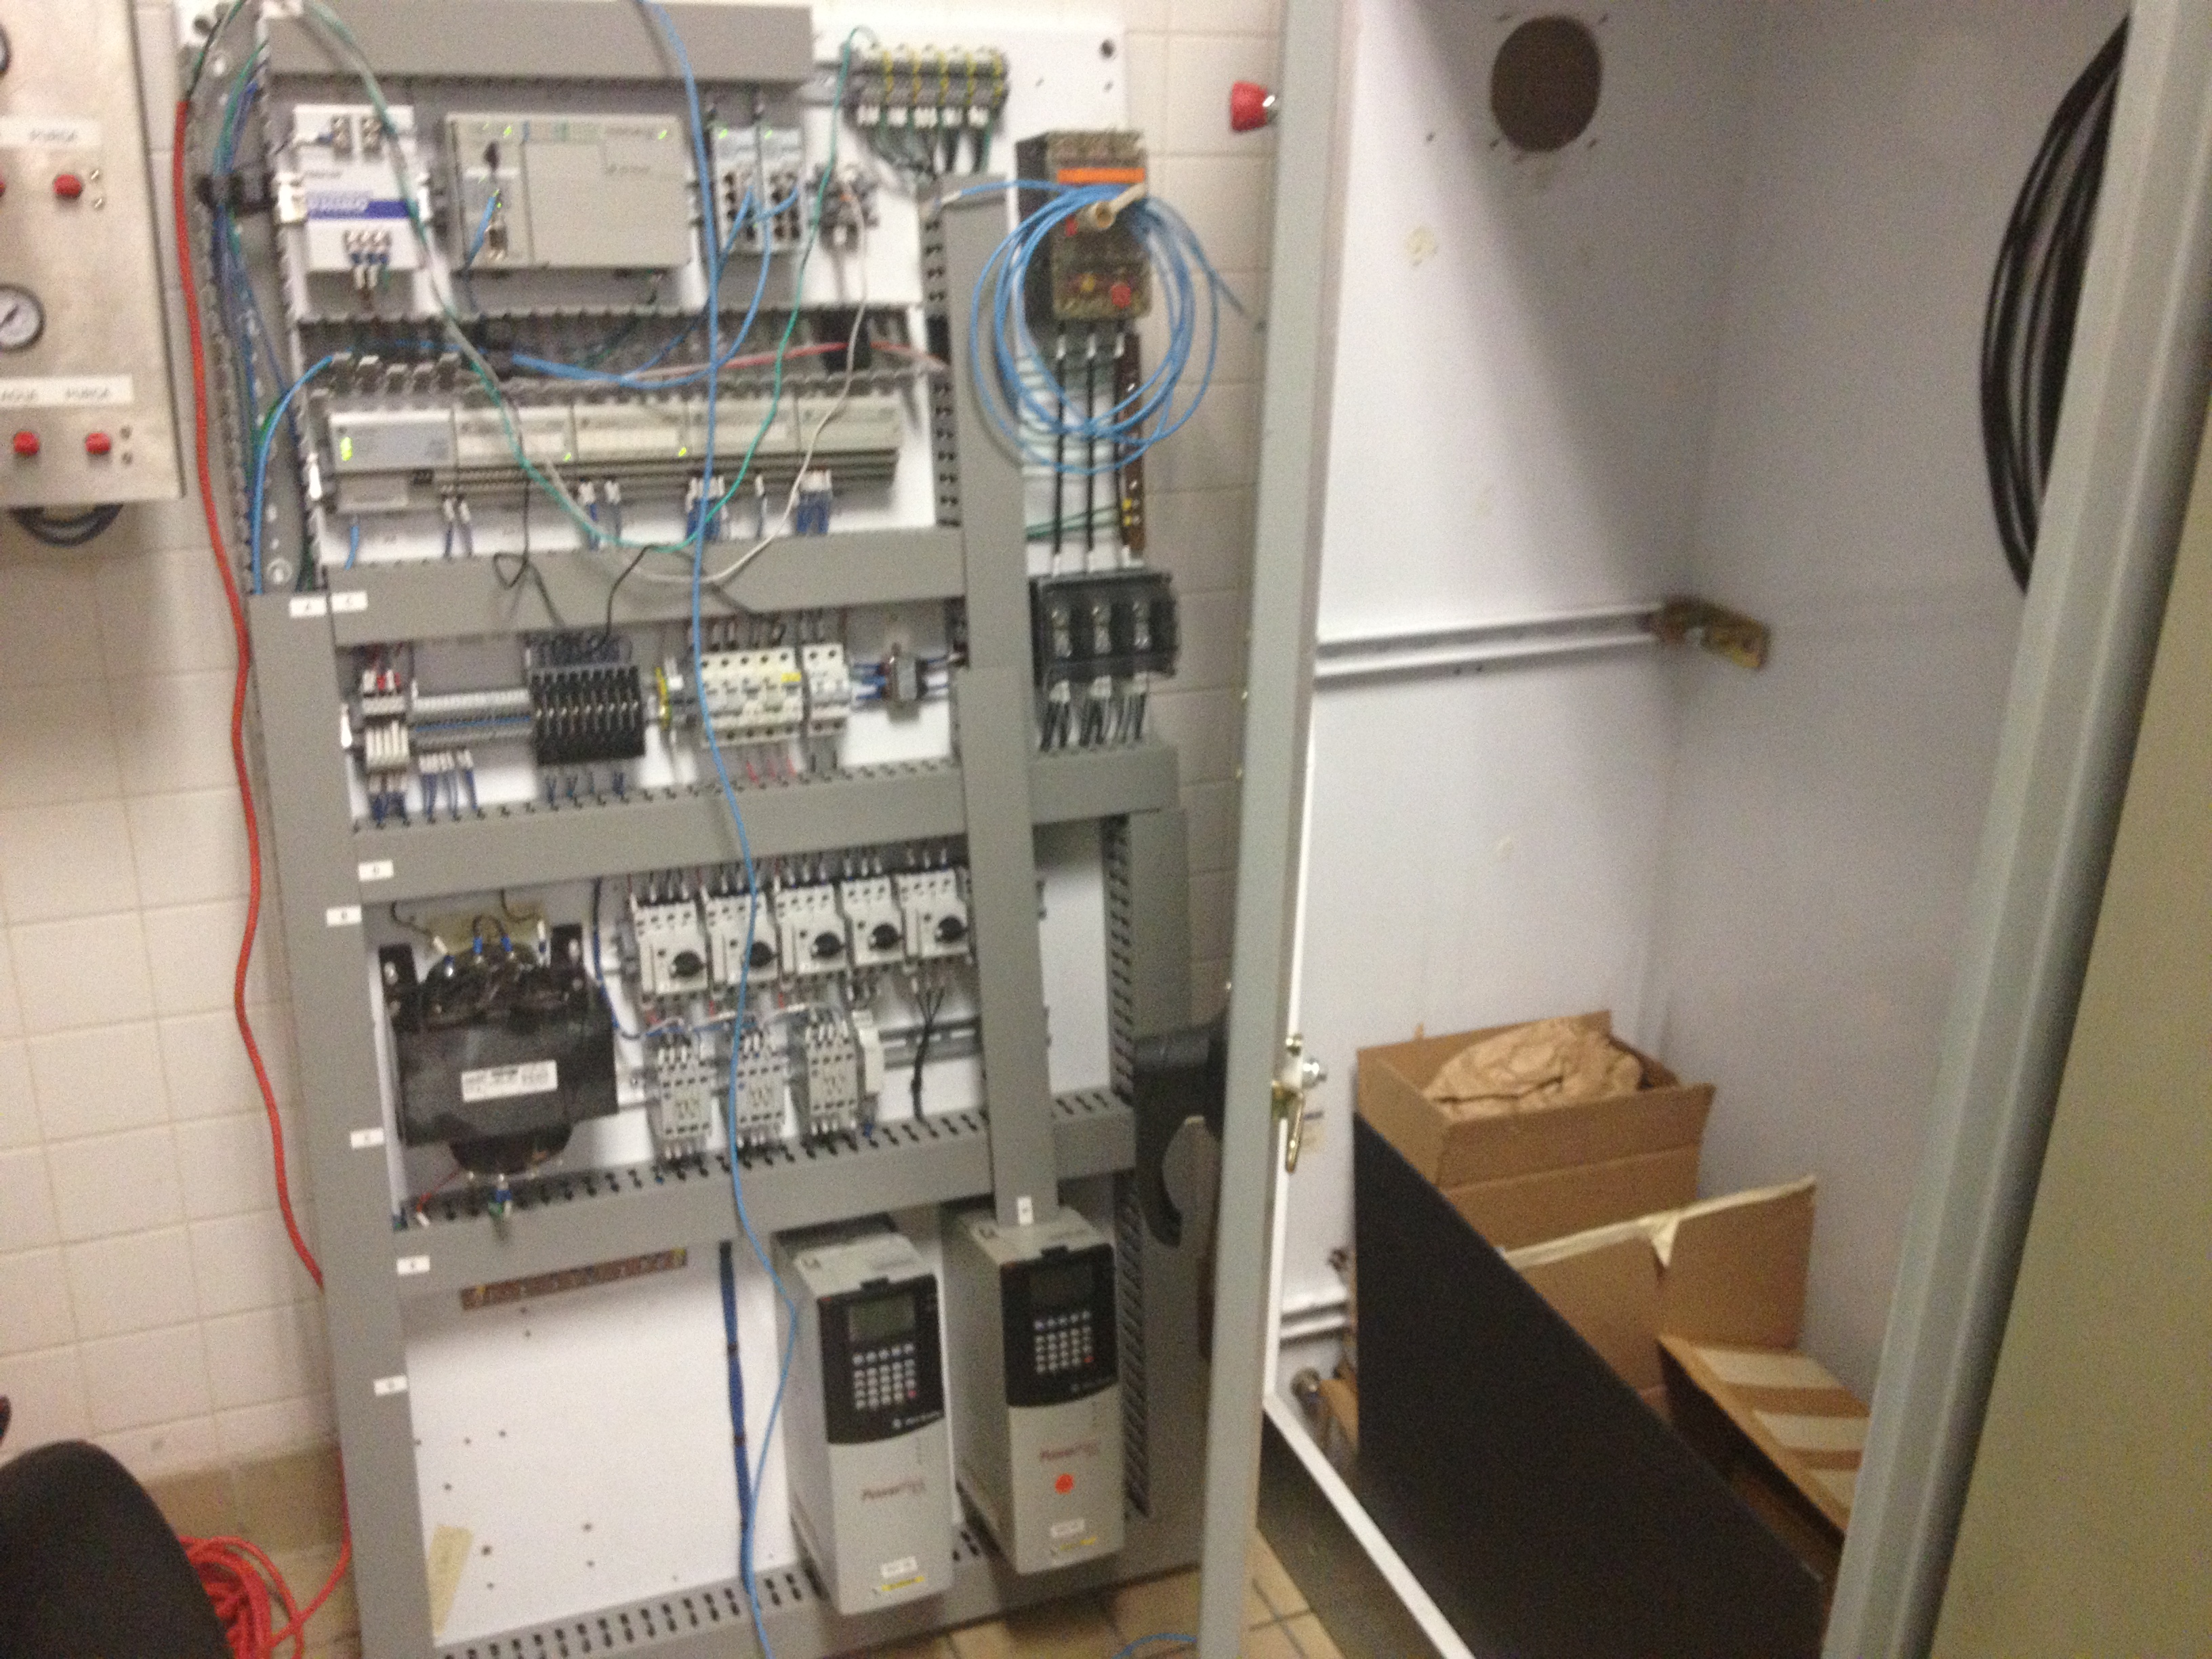
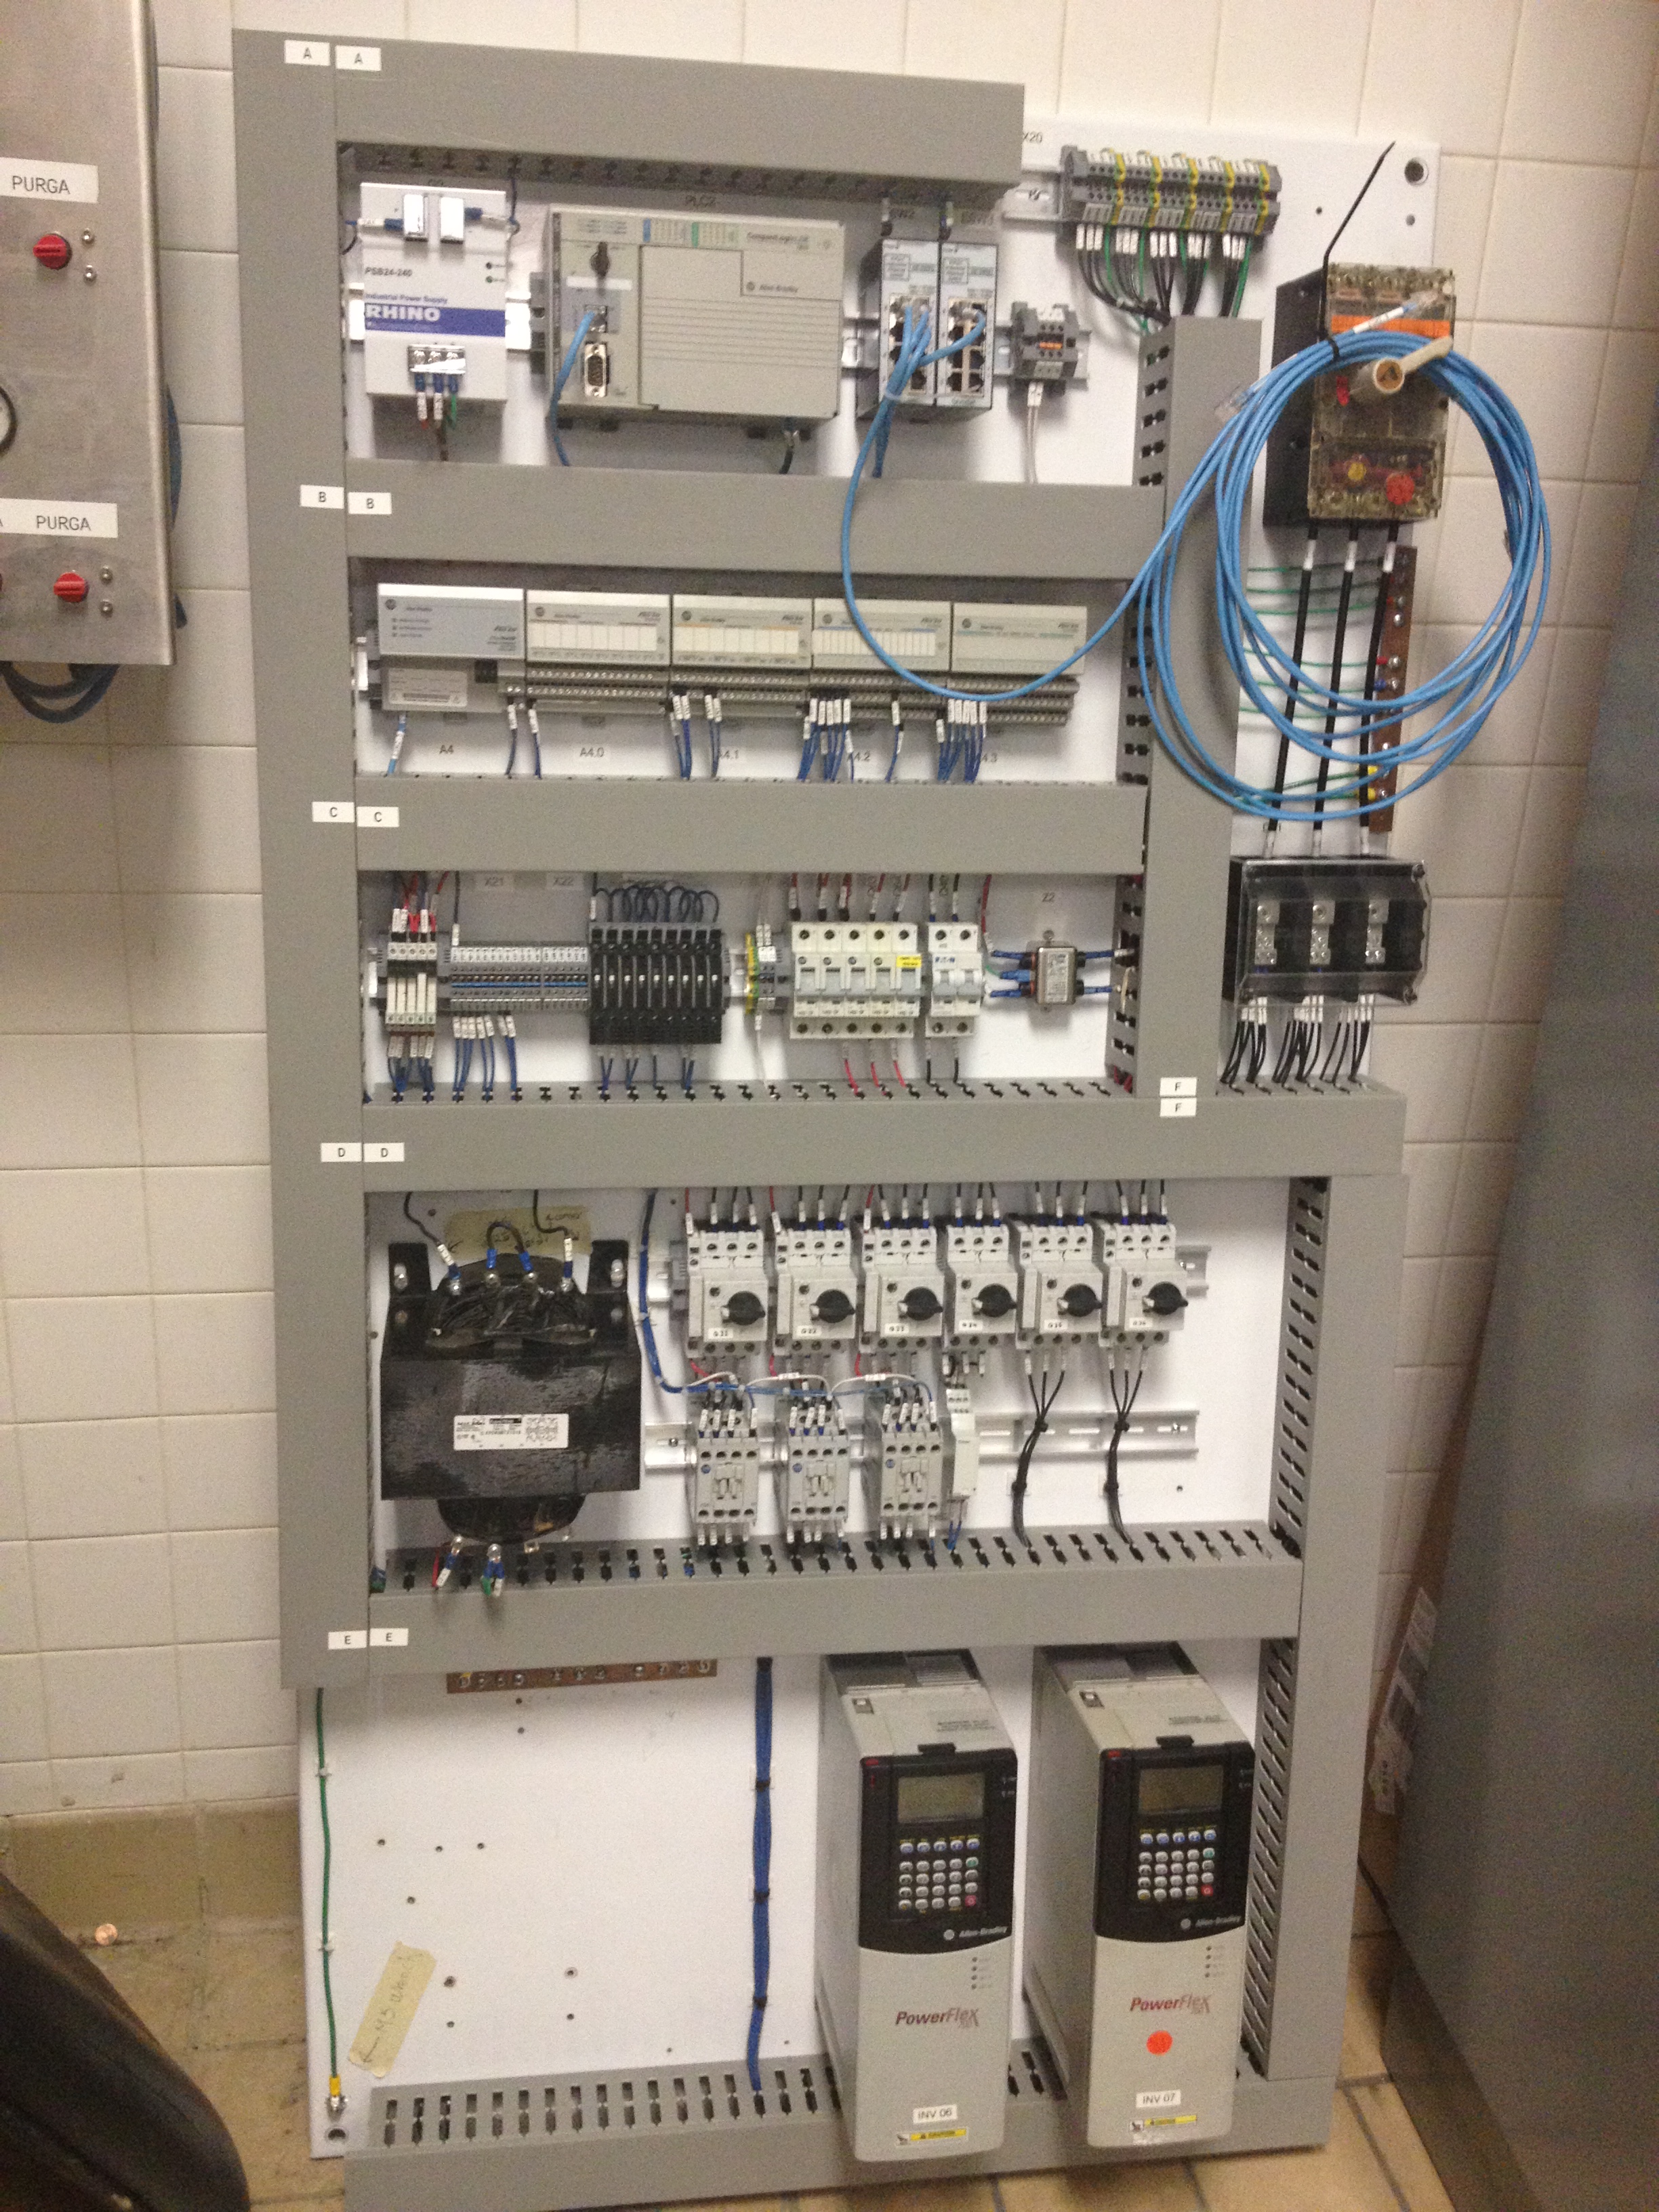
And here it is all messy again while I am doing debug! I had to power it up and do some testing. There is no 480V to the cabinet yet, so I had to disconnect the transformer and run the system with an extension cord. The purpose of this panel is to provide Ethernet remote I/O capability to the existing Allen-Bradley SLC 5/05, which used DeviceNet previously. To do this I used an A-B CompactLogix, Flex I/O and Phoenix Ethernet I/P remote blocks.
Don’t worry, I’ll make it all pretty again after it goes back in the enclosure!

Electrical Engineer and business owner from the Nashville, Tennessee area. I also play music, Chess and Go.