New Training Demos
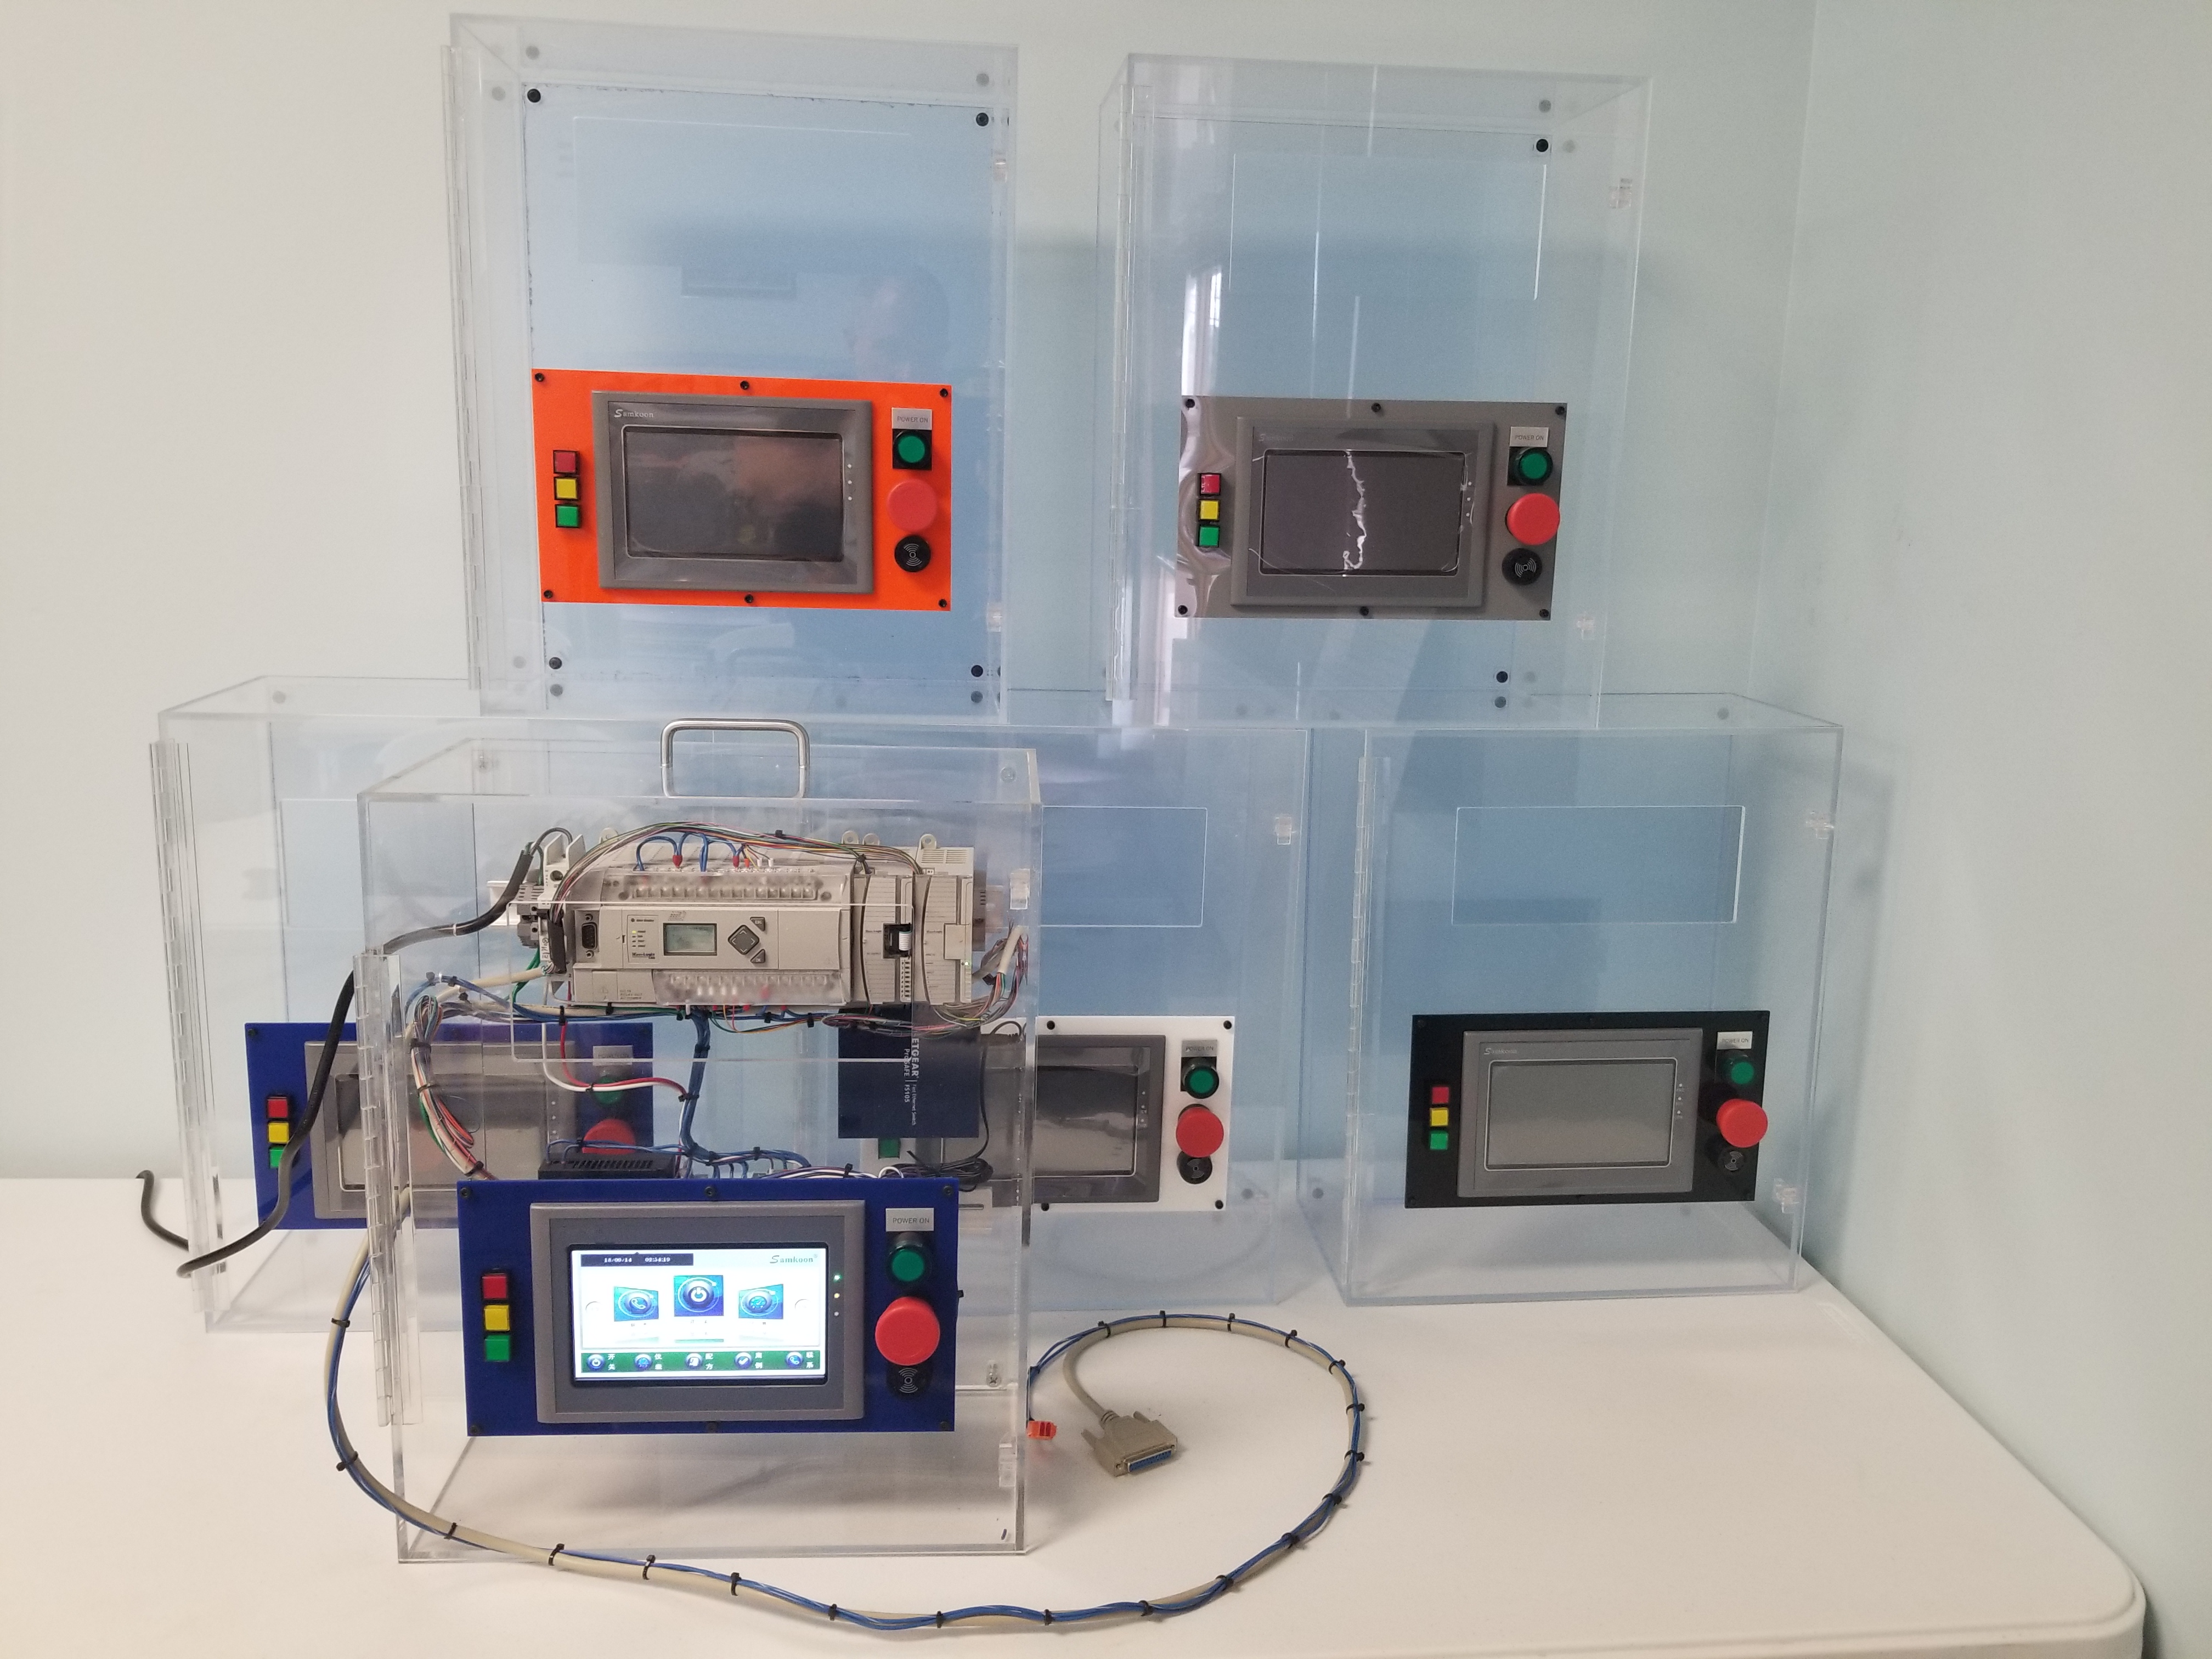
I mentioned in my last post that one of the projects I have been working on is to build less expensive, more functional training accessories than are currently on the market. The picture at the top of this post is of the plastic boxes and touchscreen plates that I designed and had fabricated by a local plastics house.

I have finished the first prototype and have connected it with the small Fischertechnik factory toy I described a few months ago. It has been pretty fun putting together this little project, but to make this a marketable idea I have a ways to go. Let me describe some of the features I have included that will make it better than anything else on the market:
First, my goal is to make it as inexpensive as possible, hence th plastic enclosures and simple wiring. There are few terminal blocks, almost everything is direct wired. I did use ferrules on everything, but rather than wire labels the schematics will only have color codes. This should reduce labor costs.
The touchscreen is a Chinese model that I have used before on some projects. It is less than a third the cost of even an Automation Direct “C-More” of equivalent size. The buttons and lights are also from less costly sources. Notice that there is an EStop, power button and an MCR, this simulates many machine control systems I feel that this can be an important training feature. The three lighted pushbuttons on the left simulate a stack light, also a standard in many industrial applications.
My training programs are focused on what’s actually used in industry, and this trainer works well with the manual I have already created. The cable that goes to the little factory will be standard for all the factory attachments I create. So far I have the three from the Fischertechnik demos, but will be creating standardized pushbutton/pilot light attachments similar to those used on my other training demos.
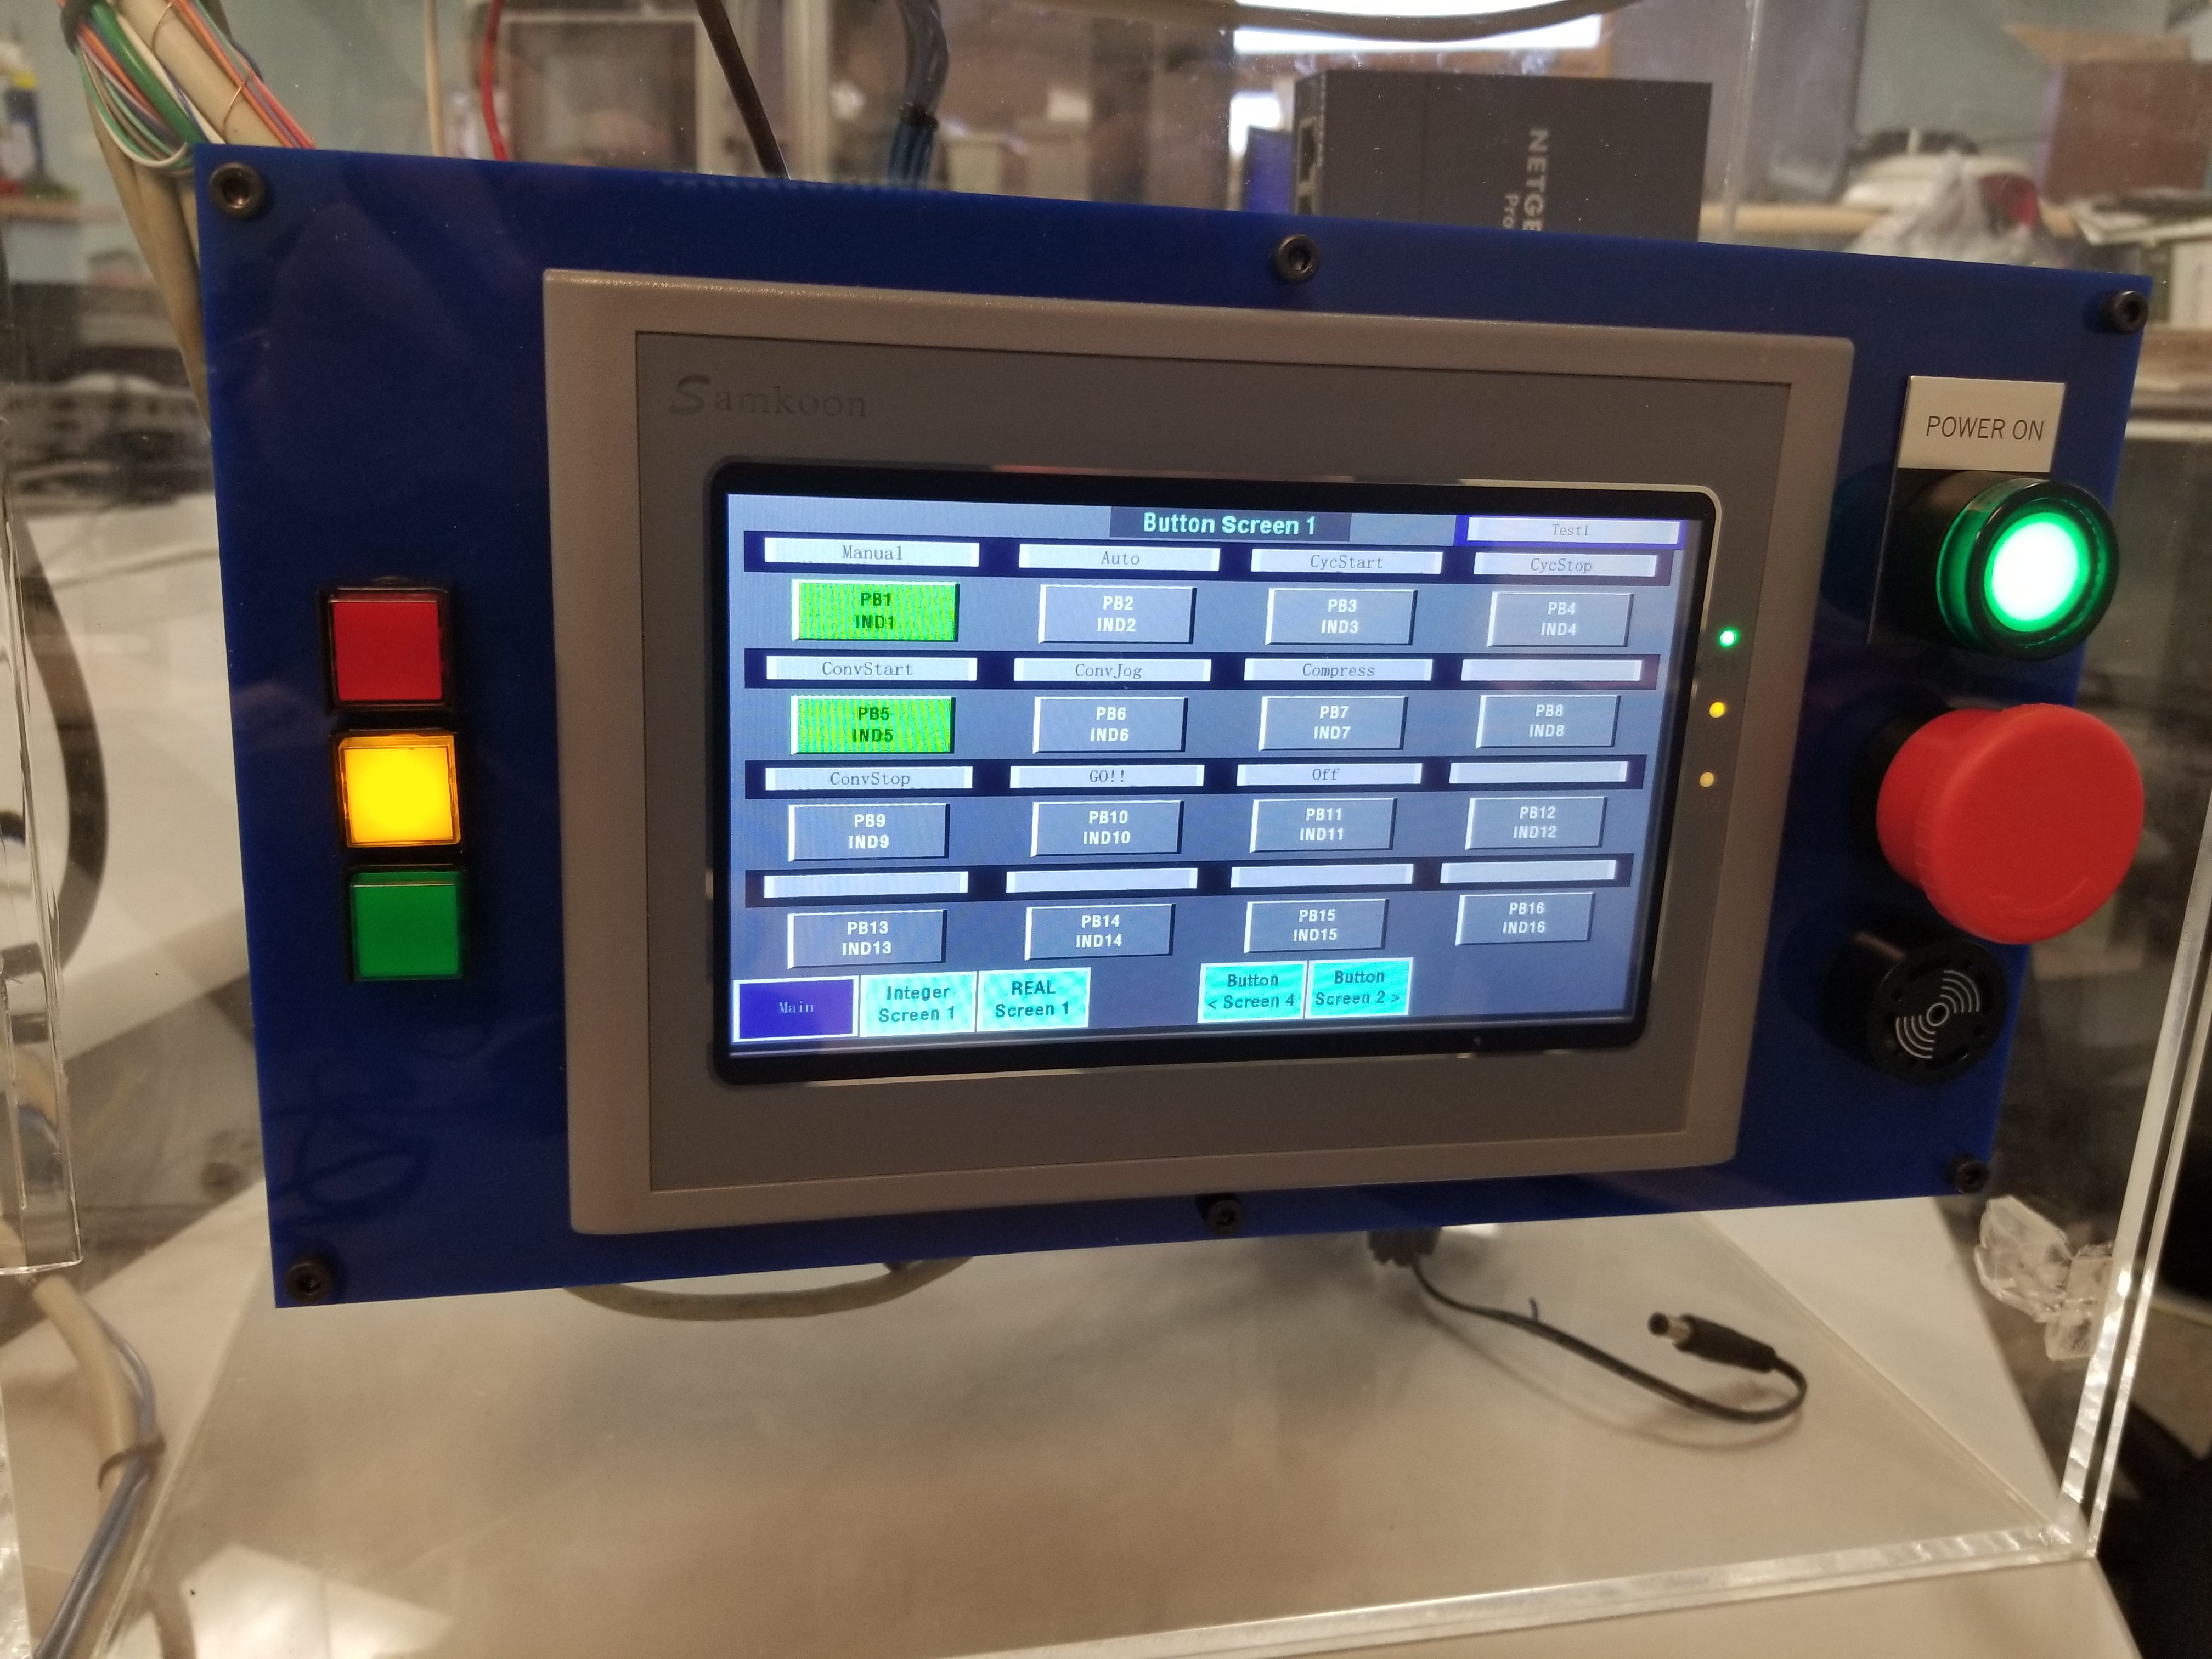
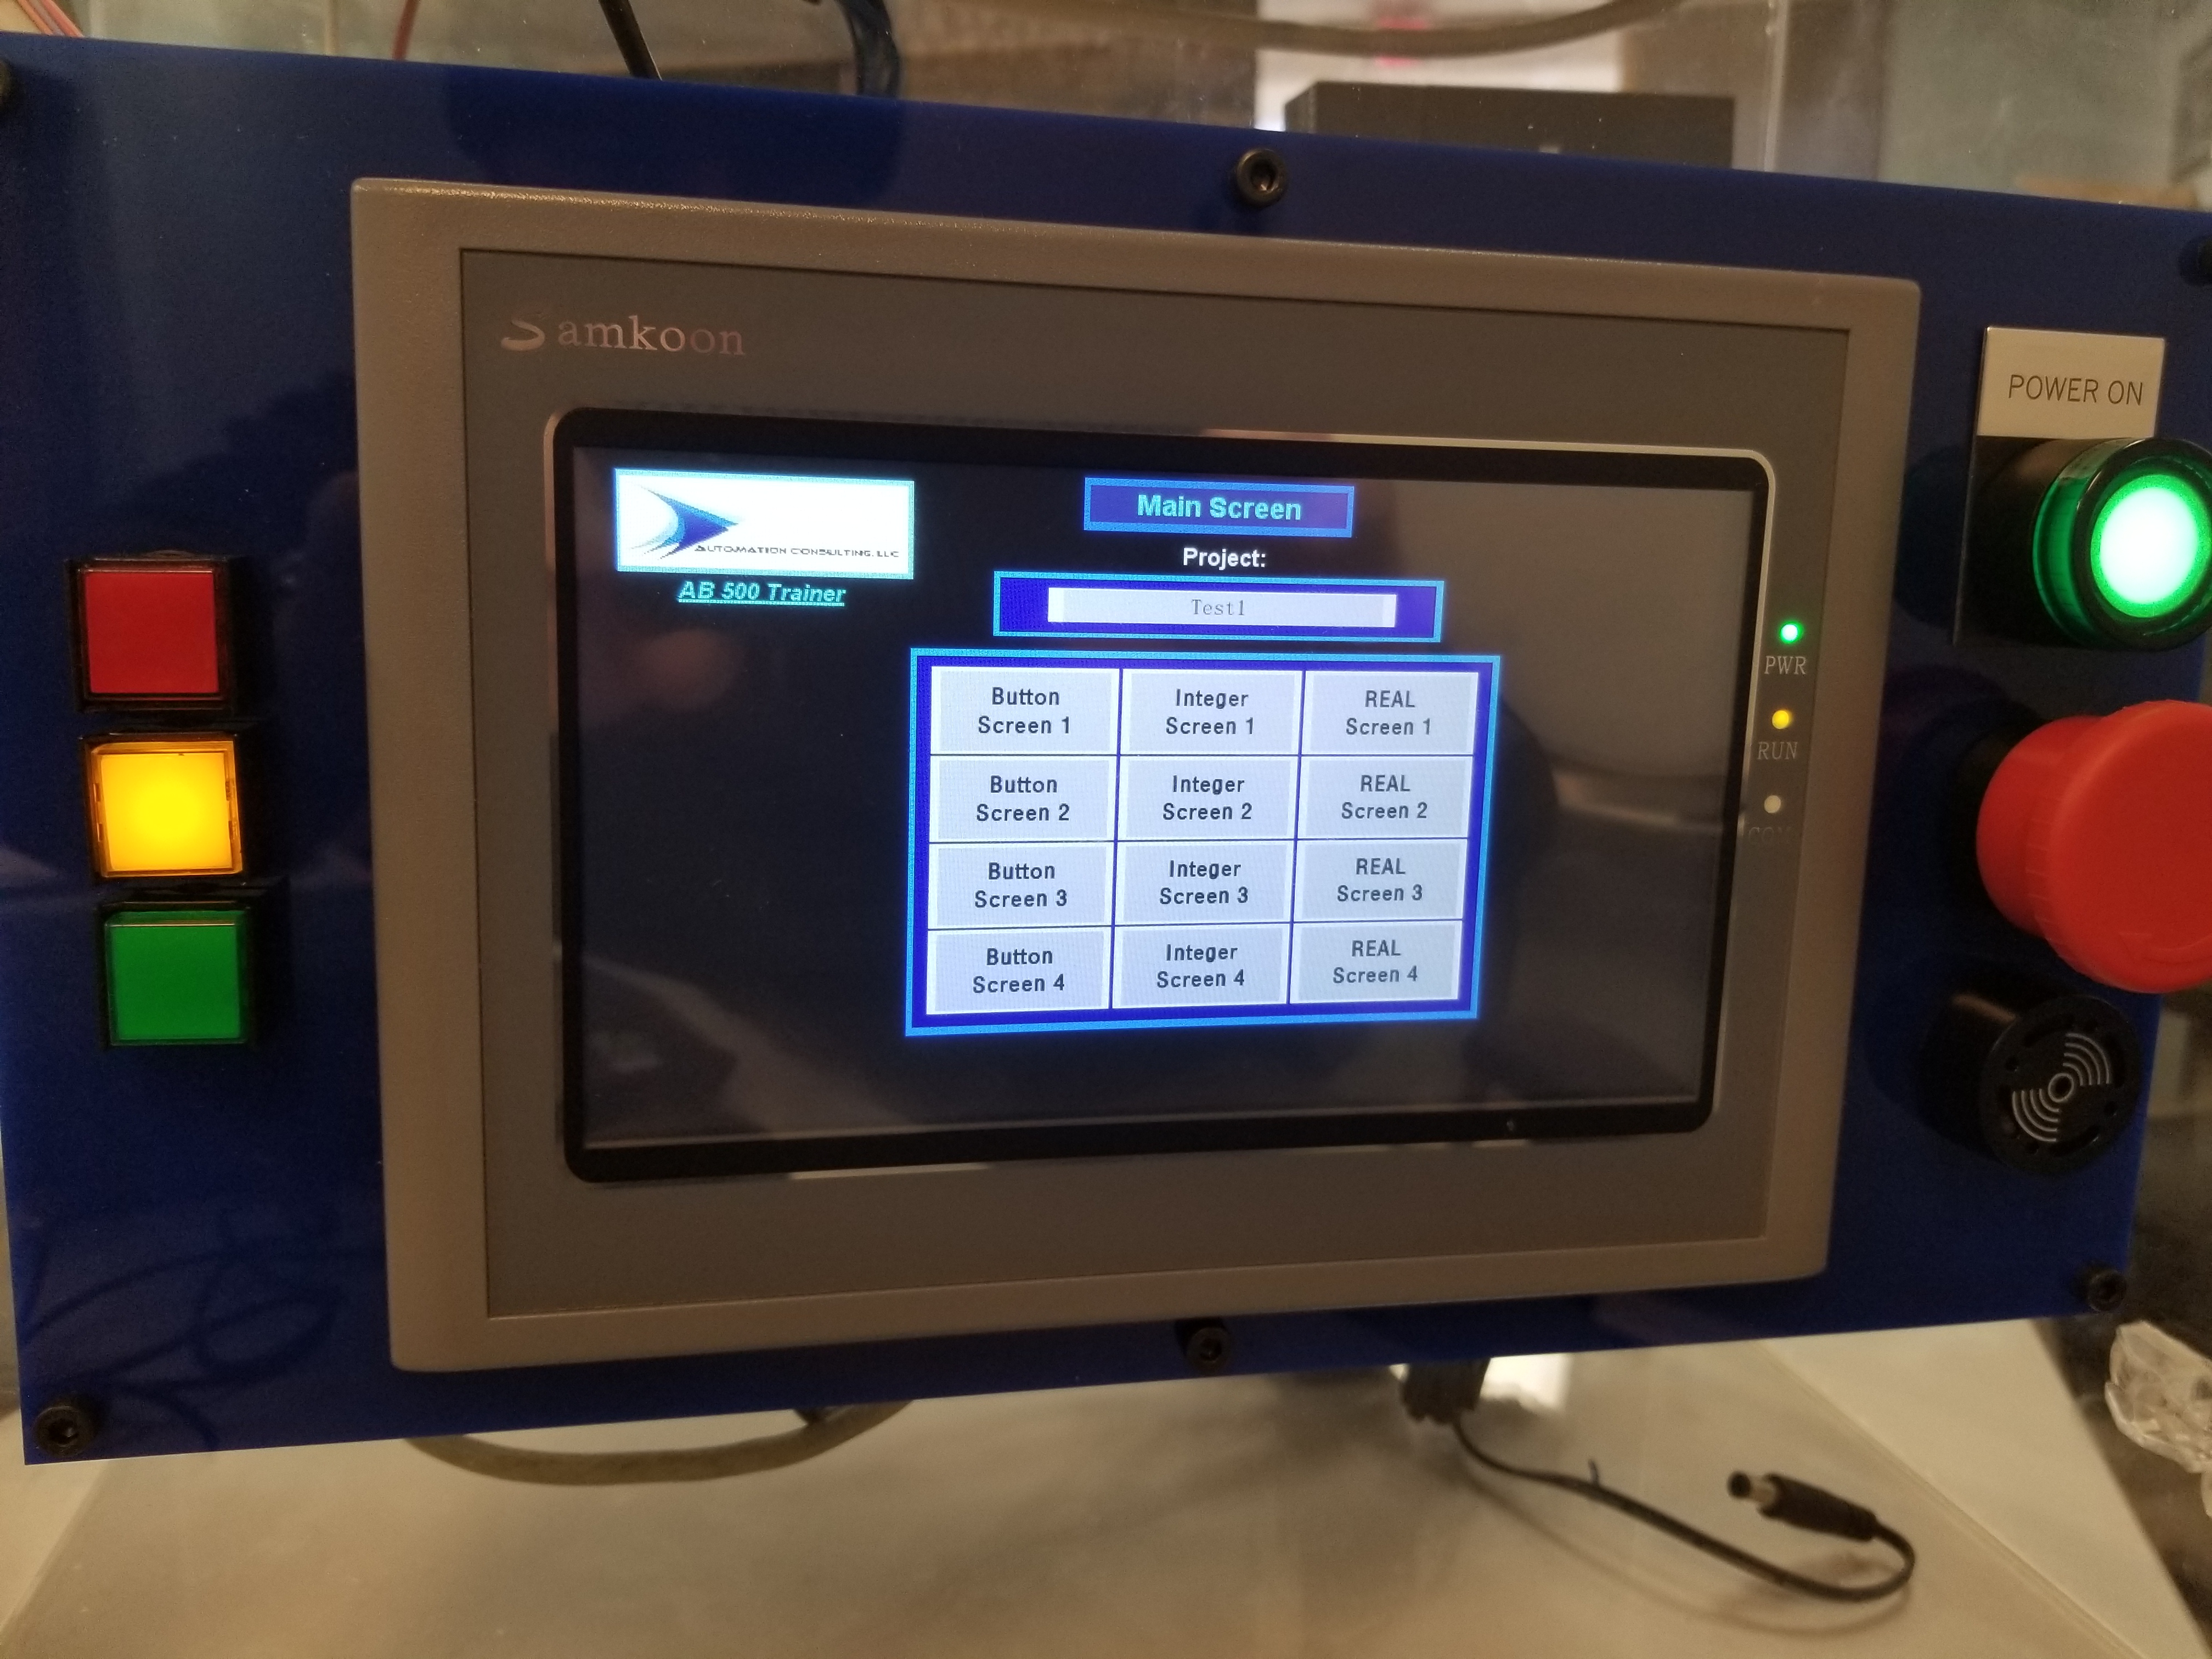
The advantage of the touchscreen is that I have created Pushbutton Screens (64 buttons and indicators), Integer Screens (64) and REAL data screens (32). Each field can be labeled using a pop-up keyboard from the touchscreen. This makes it a much more flexible training system than any of the more expensive trainers on the market.
I am also creating documentation and training manuals for each of the attachments and applications I build. This takes a while, but one of my customers has already ordered a couple.
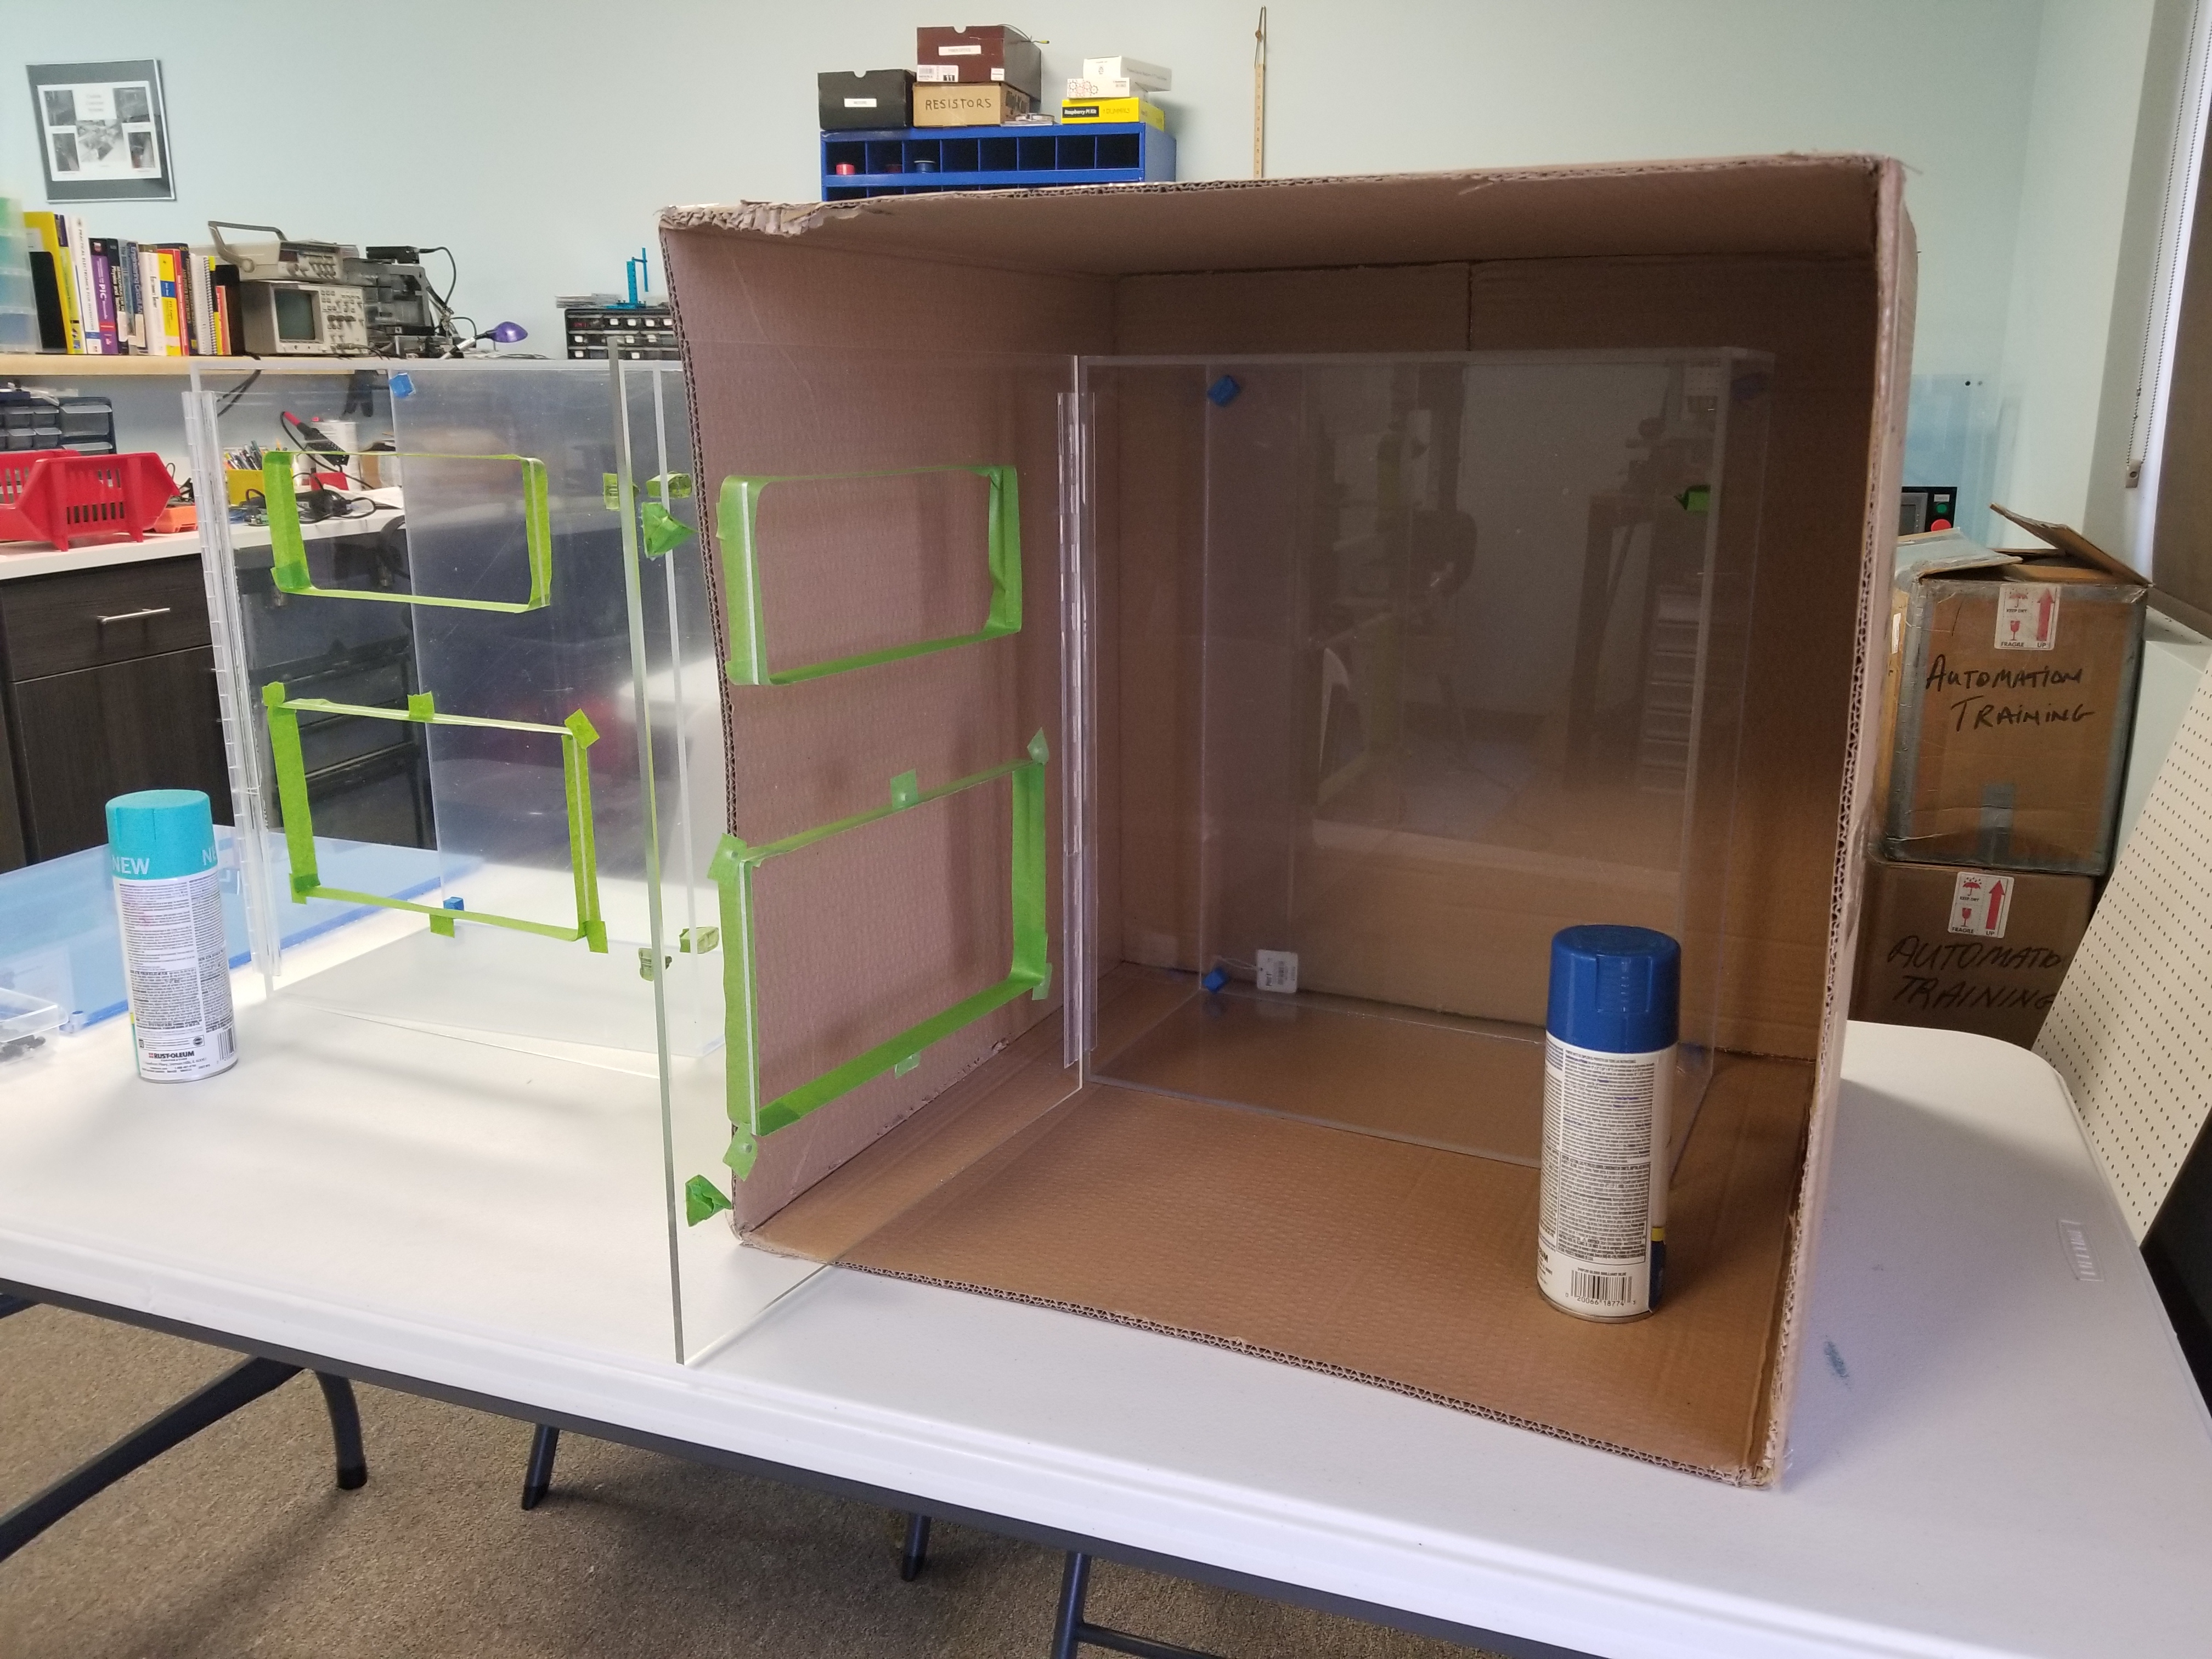
In retrospect I wish I had ordered the boxes in solid colors. I am painting two of them, but I will have them made in solid colors when they are ordered. As you can see, the faceplates are already available in a variety of colors.
My wife gave me some good advice: only paint two for now before you see what it will look like. I am painting the inside, so the color will show through. When I ordered the original enclosure, I thought it would look cool to see the wiring inside: I guess that depends on how artistic you are when wiring. I made the first prototype, my wife is making the second I’m sure hers will look much better than mine.
Anyway, that’s where I am at on this project. By next year I hope to be marketing these online, I have a lot more documentation and testing to do before I’m ready. I also don’t intend to manufacture these myself, its not the best use of my time. Besides, I’m not so artistic at wiring 🙂
I will be looking for other options/partners etc. when it comes time to produce lots of these. Drop me a line if this is an interesting topic for you!

Electrical Engineer and business owner from the Nashville, Tennessee area. I also play music, Chess and Go.
Very nice! I see it filling an important need in the industry. From price point to effective learning tool. You think of everything! Best of luck!!
Hey Lon, good hearing from you! Hope everything is going well!
Why not use spring clamps for the terminal blocks? That’s what I spec’d for our machines, and so far our tech hasn’t complained.
Another possible source for HMI’s in Kinco, which is resold by Anaheim Automation – I haven’t tried any yet (just have a Kinco servo drive).
I’m not an expert in lower cost controls, but I did look at C3 controls (cheaper than IDEC, but I prefer IDEC switches), plus I’m sure there is plenty of generic Chinese stuff available.
Laser cutting might work well for the panels. A bit of trivia: the original RepRap and Prusa 3D printers often used laser cut plastic or wood (IIRC, the original Ultimaker used a wood frame, too). I enjoyed building my Prusa i3 Mk2 – it was interesting to see what decisions they made, like using tie wraps to hold bearins in place, and their use of 3D printed parts.
Hi Tony,
There are only six terminal blocks in the whole panel. Every dollar counts, and at almost a buck apiece for most terminal blocks I am cutting corners wherever I can.
I also have built a wiring harness fabrication board for jumpers and the two cables. In many cases control panels are built with the idea that they will be modified at some point, but these are meant to be true OEM products. The components I’ve used so far are the absolute least expensive I’ve found anywhere. If someone wanted something different I’m sure I could accommodate them, but my goal is to make assembly directions very simple so that High School or Vo-Tech students can build these with little or no supervision. Since I started my business six years ago I have made it a point to never have to actually hire anybody, so my goal is to make this so that all I provide is design and ideas. The down side is that it takes forever to get anything done with my schedule…